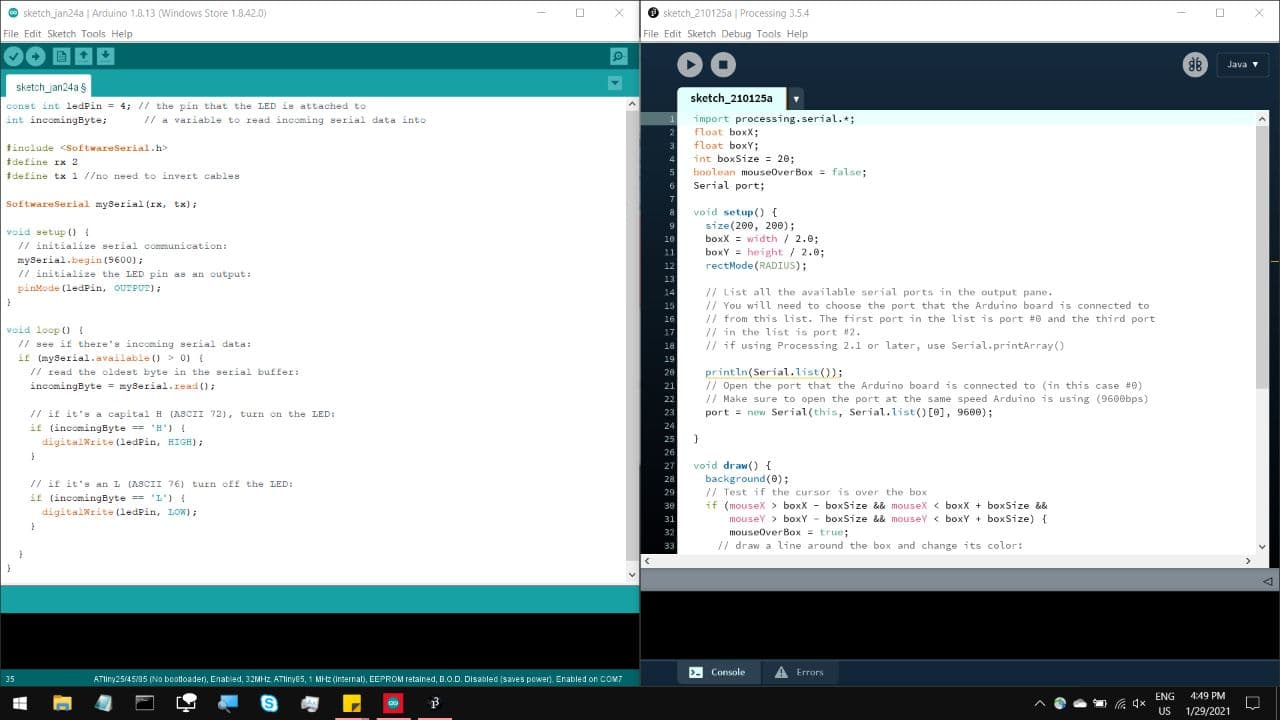
Coding is Really not my strength, so I have opted to use abit of preset code to achieve this, which will be linked below. This will use a bit of software
called Processing in conjunction with with Arduino IDE to allow for computer input to trigger something on your microcontroller,
or for the opposite were sensor data on your microcontroller can be fed back to your computer for some user interfacing.
PhysicalPixel Code for Arduino-Processing

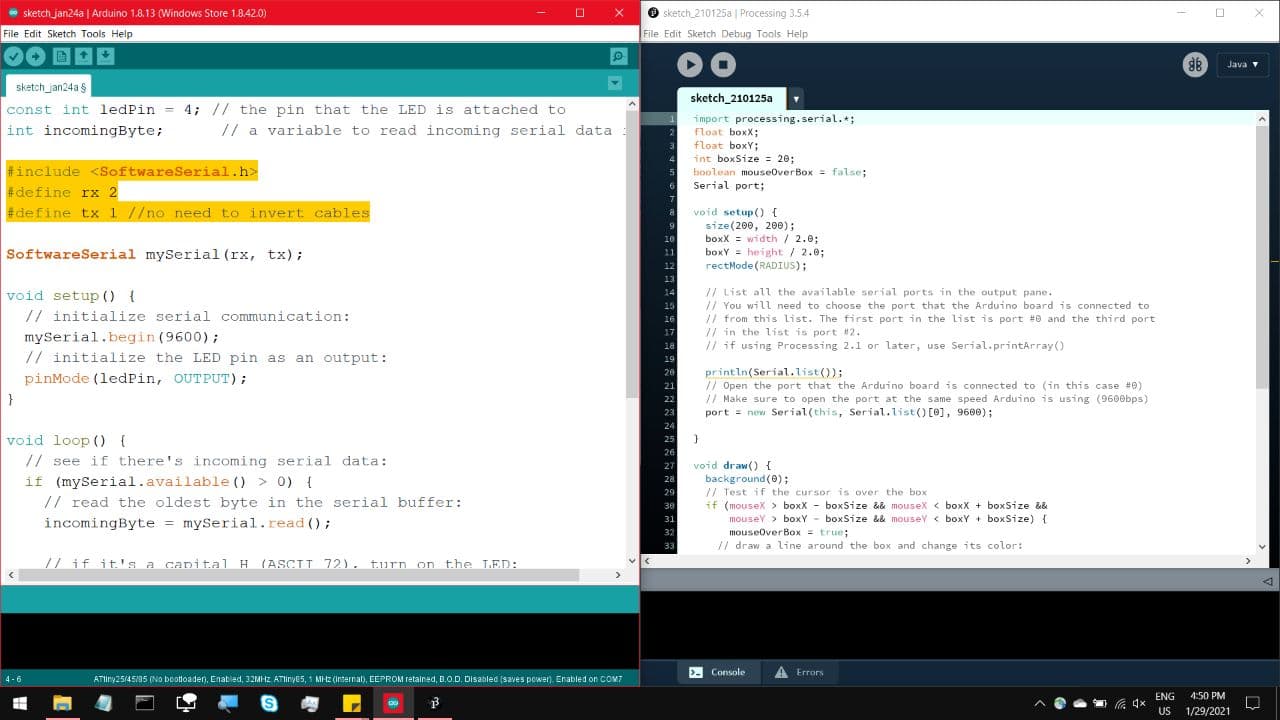
Be sure to include SoftwareSerial.h, and define your rx and tx pins. This set up on mine allows me to use a serial cable without
the need to flip the rx and tx pins around.
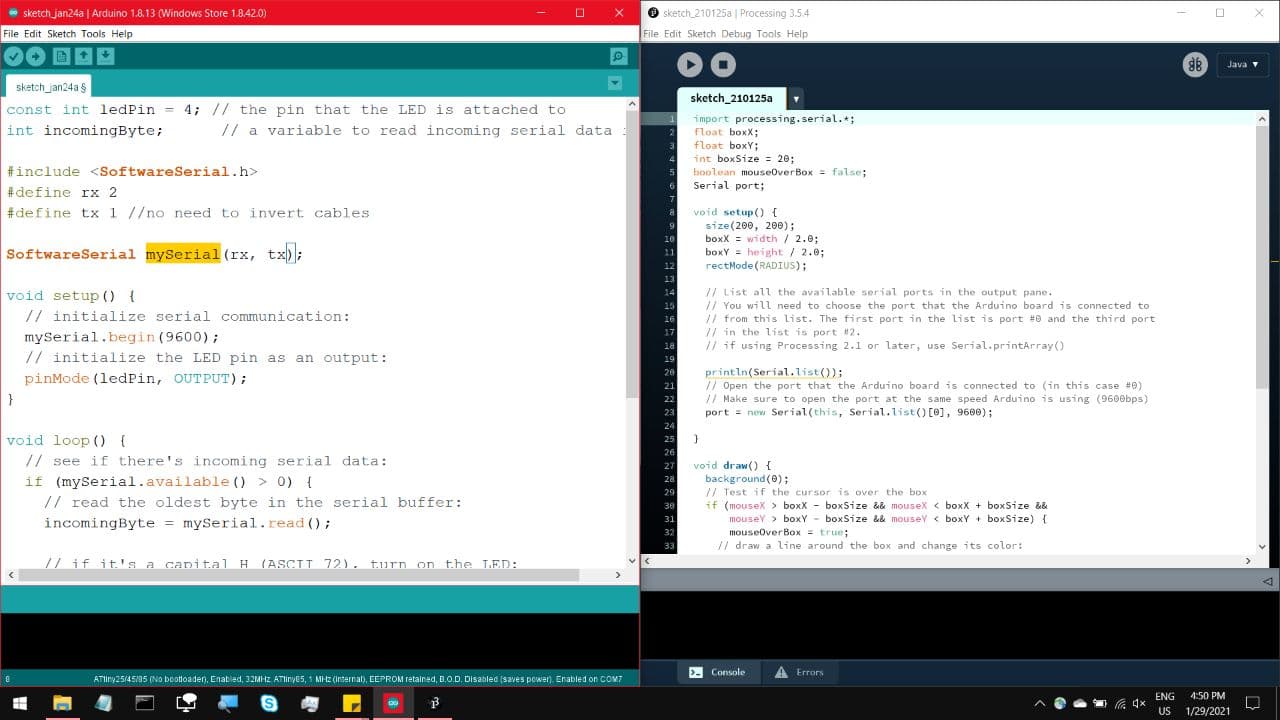
And be sure to change all Serial commands to mySerial. This highlighted command declares the Serial line.
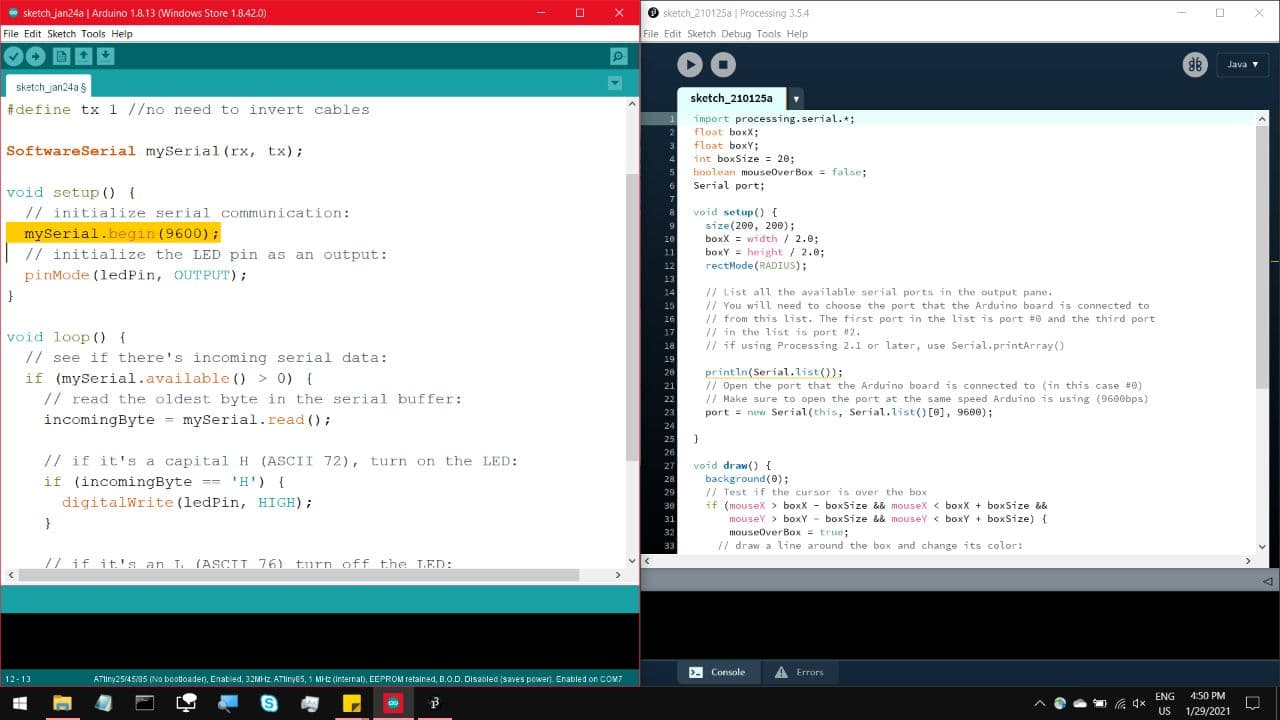
mySerial.begin helps start a serial channel to the attiny85. Serial.Begin will not work as
apparently that is just a preset operation for Arduino devices, which ours is not.
This line checks the serial channel for any incoming data at all.

This here scans the serial channel for any incoming data, and reads the most recent one.
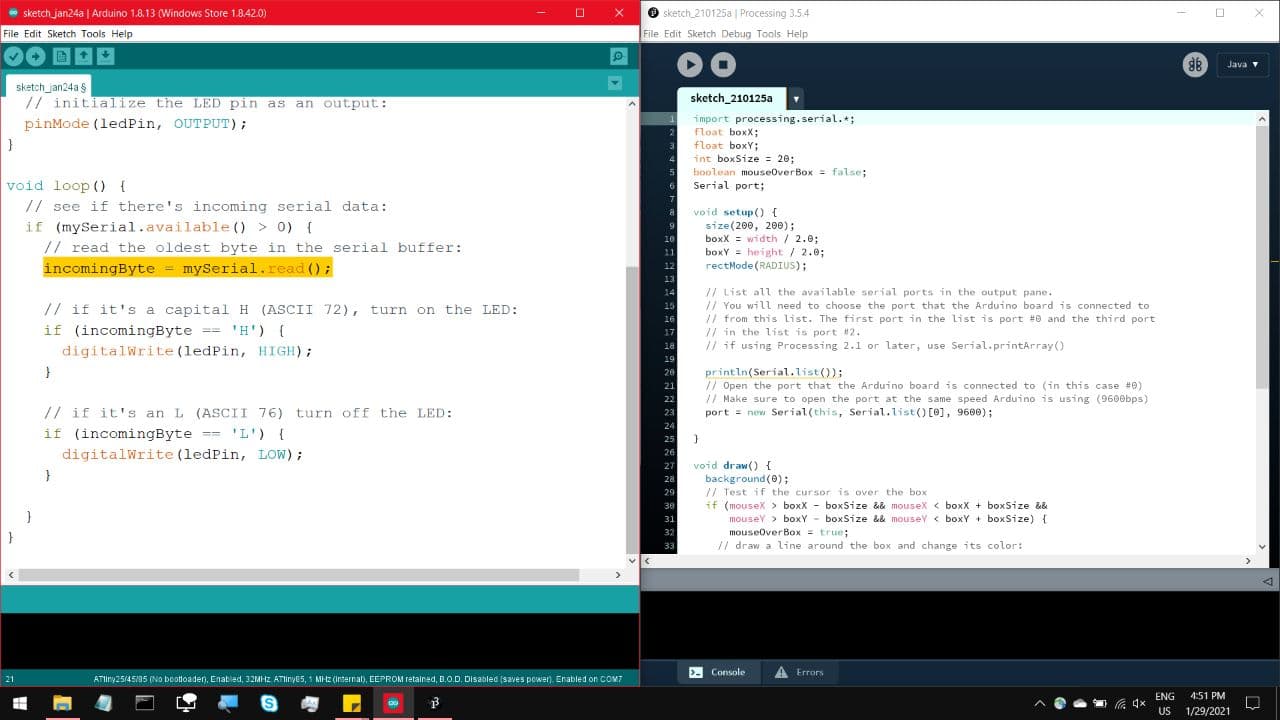
What this bit of code does is wait for a H on the serial channel, and set the LED on the board to High.
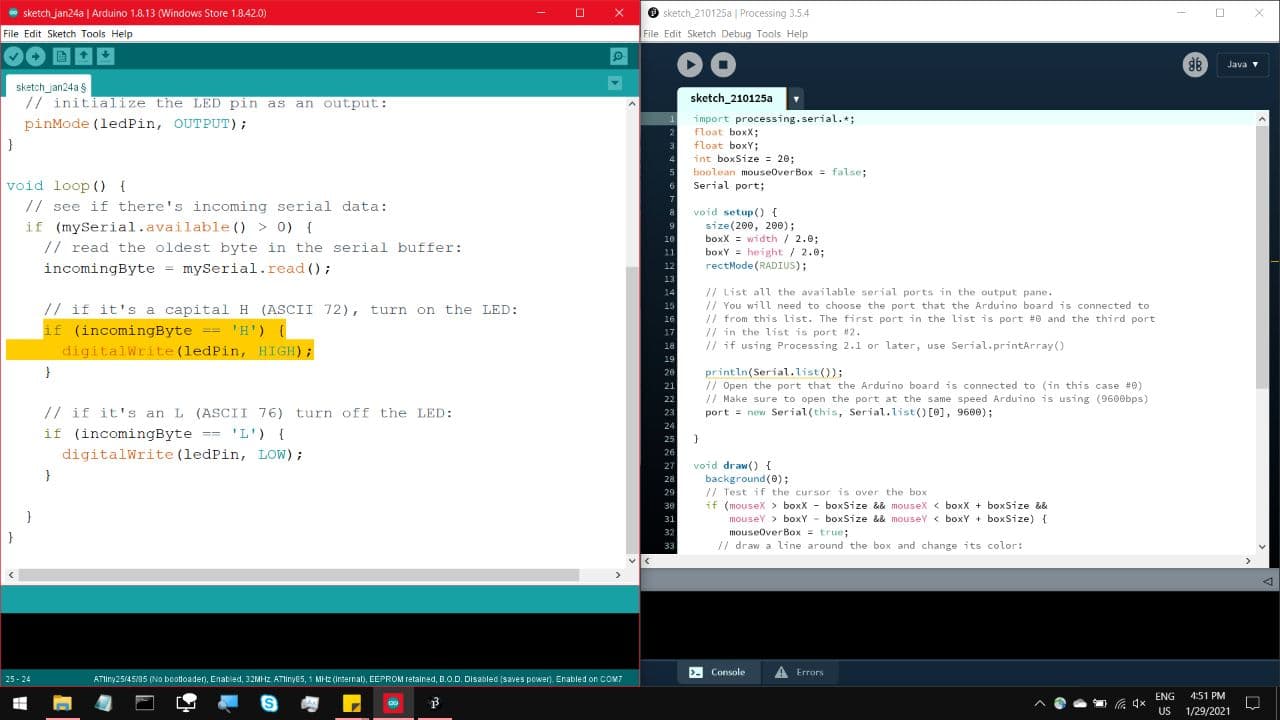
And if it gets an L on the serial channel, it sets the LED back to Low.
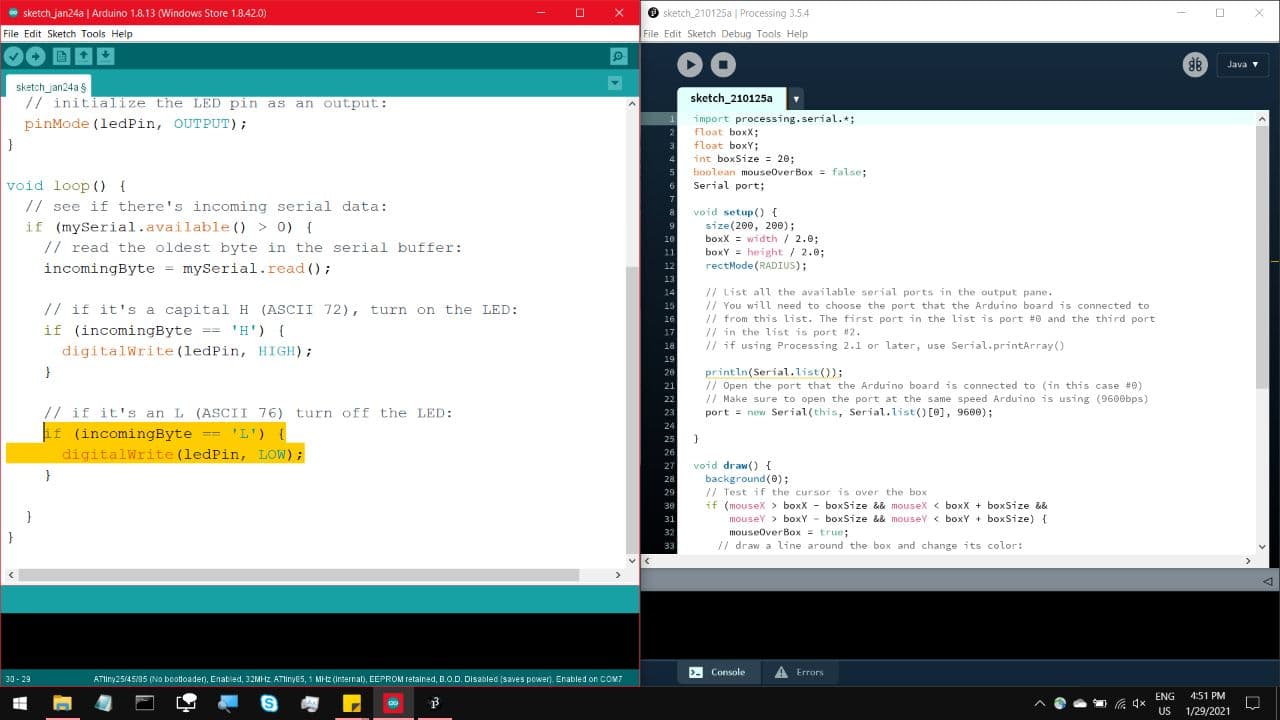
On the right, we have processing. Import the processing.serial library
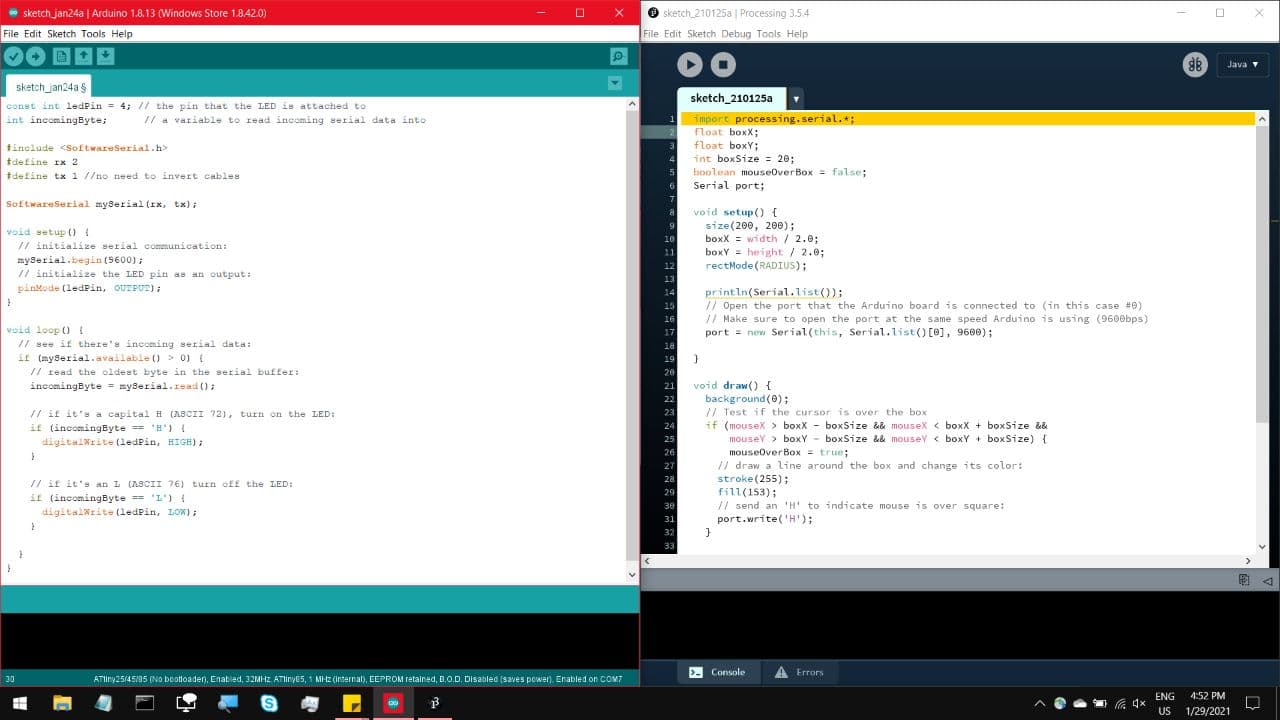
This line tests whether the mouse cursor is over a defined box on screen, if it is, draw a highlight around that box,
and send a H down the serial channel to be picked up by arduino IDE.
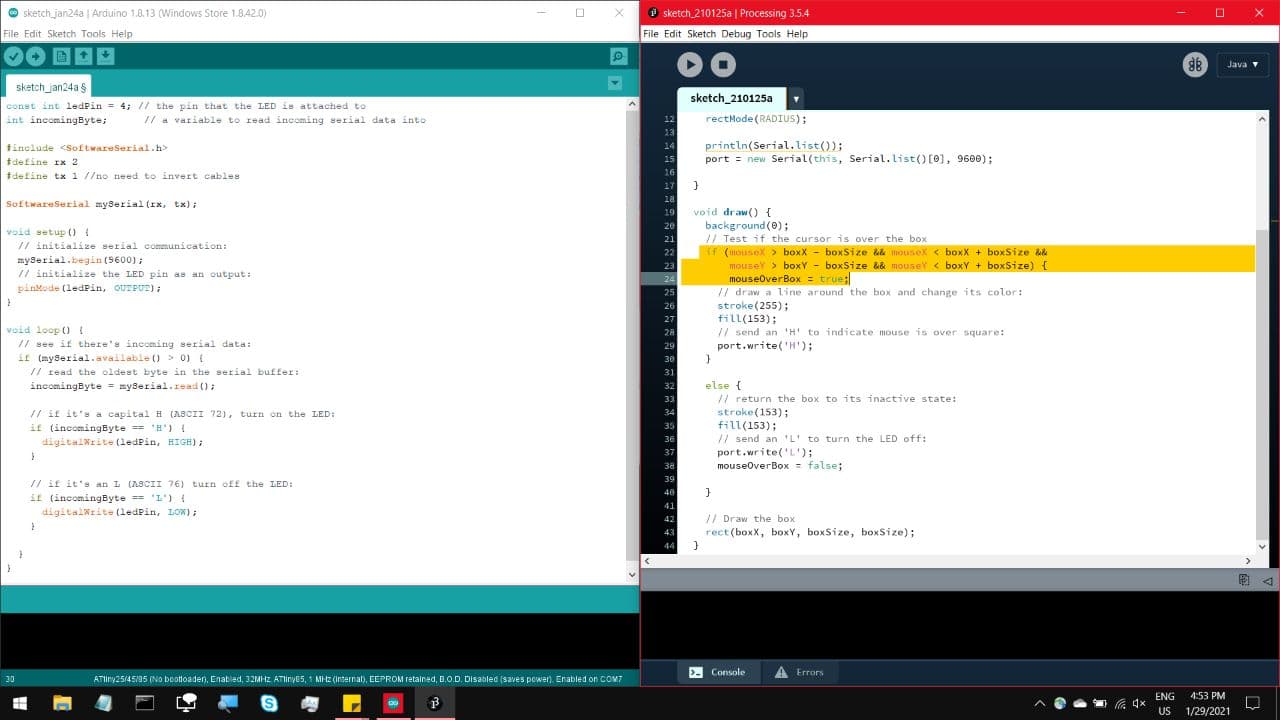
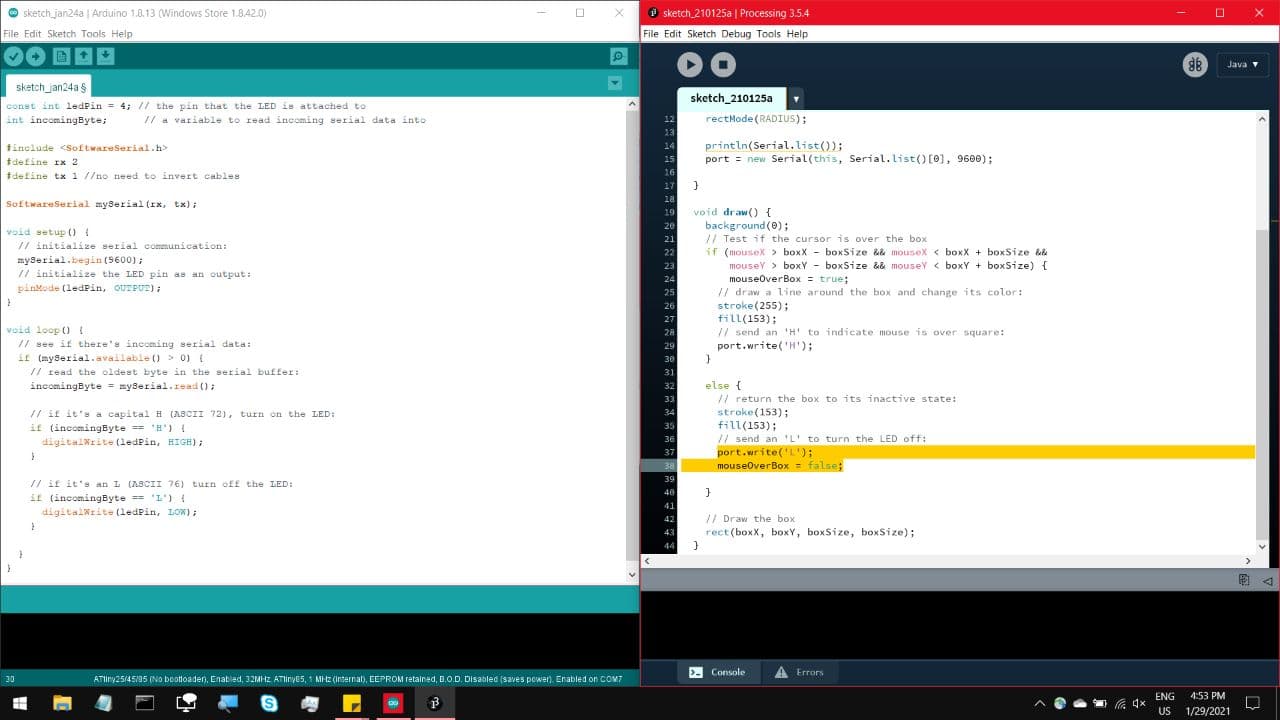
If not, this line will send an L down the serial channel, and return the box to what it looks like by default.
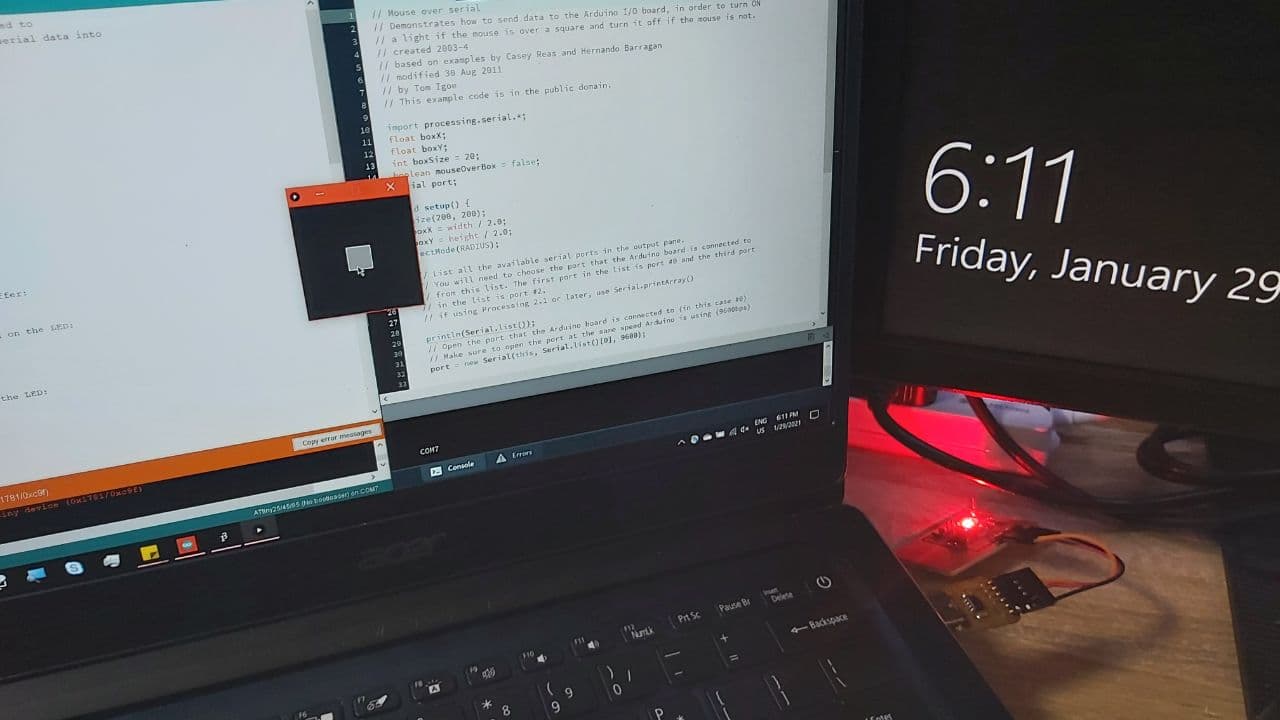
Then wiring it up to my Laptop, you can see when I move my mouse over the box, it lights up the LED
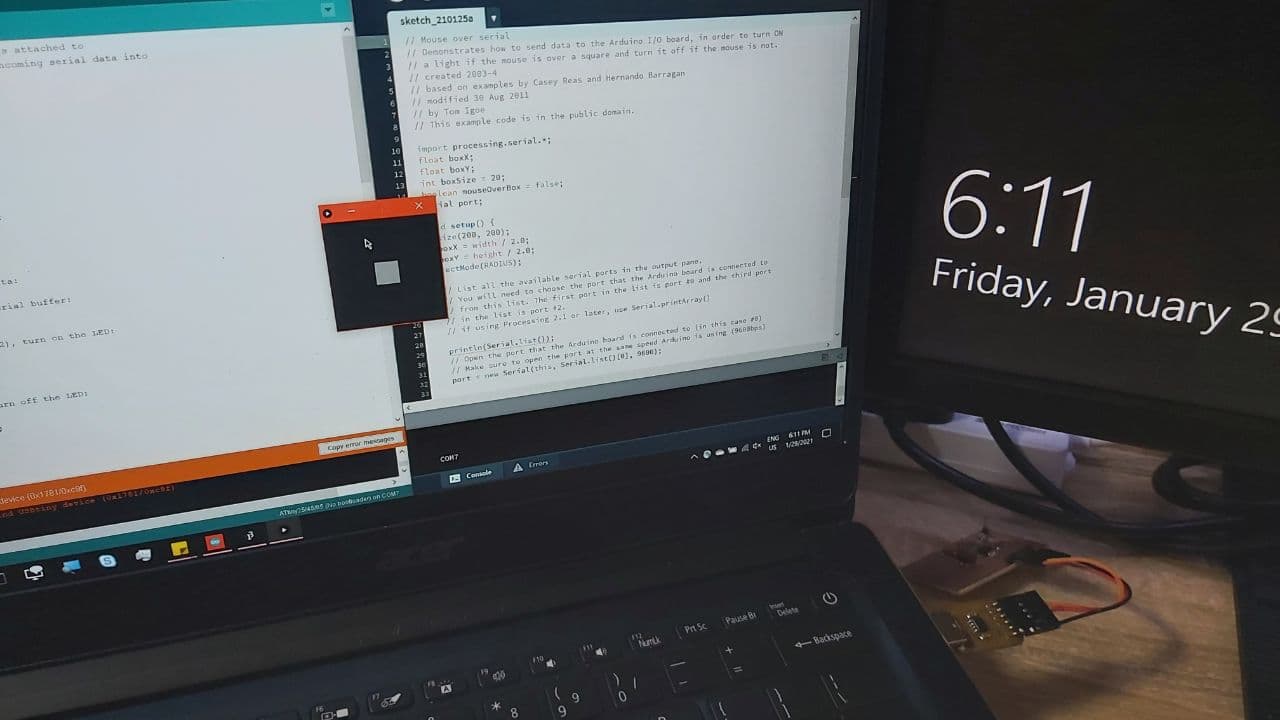
And when I moved my mouse away, the LED turns off.
I chose not to spend too much time on this section, as I would need to cannibalise this hello board for the Final Project.
Interfacing & Applications Programming