This will be a quick one. First, put on some gloves, but not the blue Nitrile ones. Apparently the moulding
compound reacts with it in a way I do not want to find out. Next, grab Alot of tissue paper, this will be
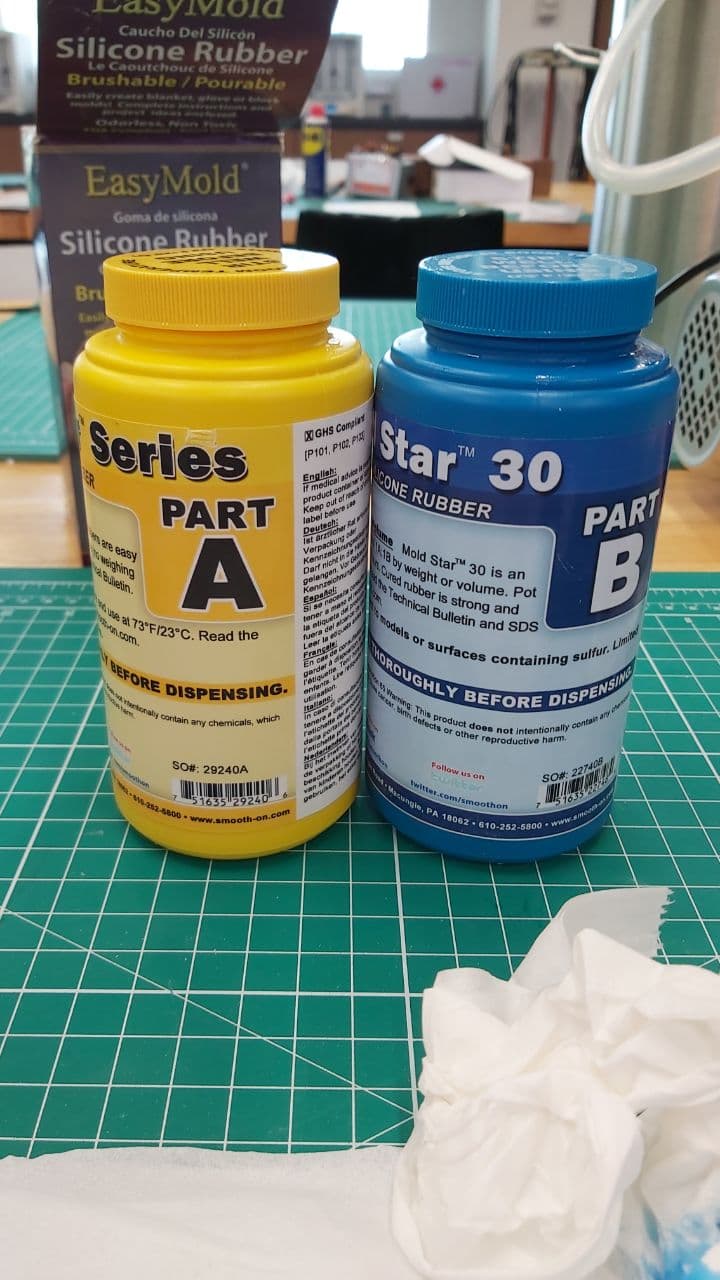
messy no matter how you do it. Now get these two bottles very kindly labelled A and B, a foam cup, and
something to stir with like an ice cream stick.
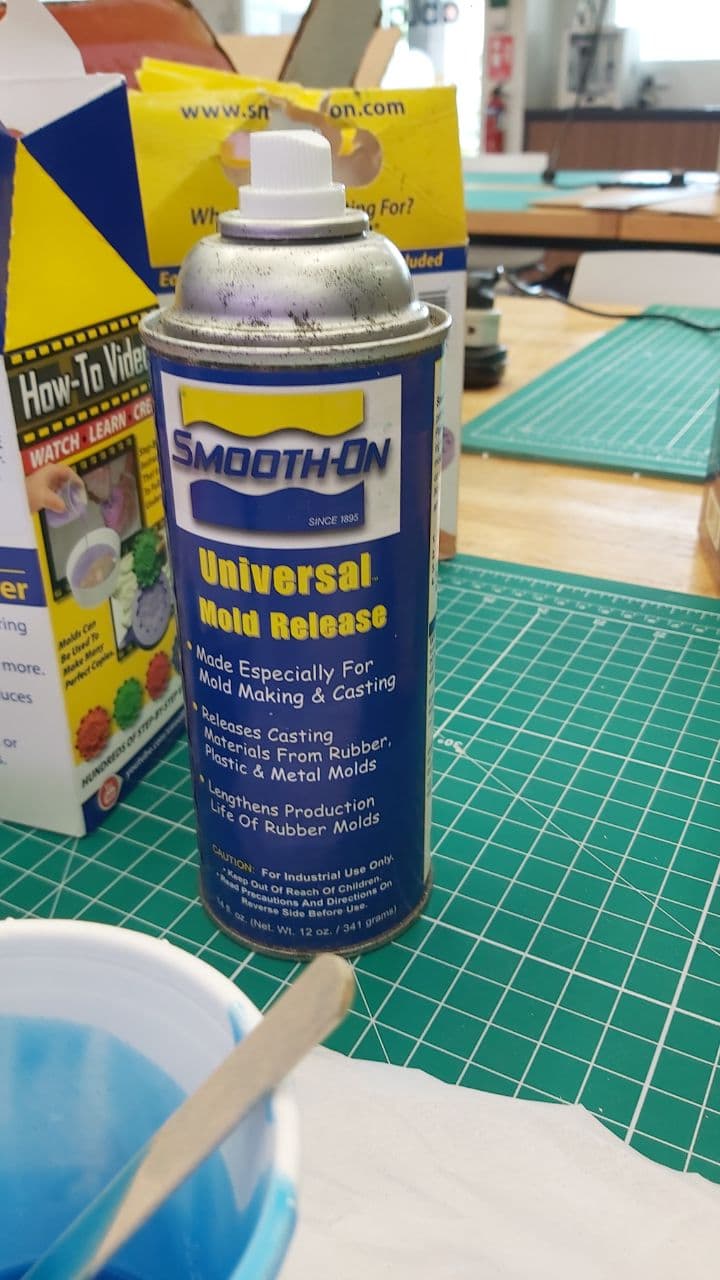
On your foam buck, spray the surface with this, one quick pass with this will help release the silicone mould later on.
Just be sure to spray it facing down into a bin, to avoid fogging up the whole workshop.
Now, pour the contents of bottle A and B into a foam cup, in a 1 to 1 proportion. Check it using a weighing scale. You should
not need much of it depending on what size is your mould. For my 50mm by 50mm by 18mm foam piece, I only ended up using 18g of A and
B each, and I still had quite abit leftover. Take your time to mix it, as you have about 45 minutes before the compound just fails.
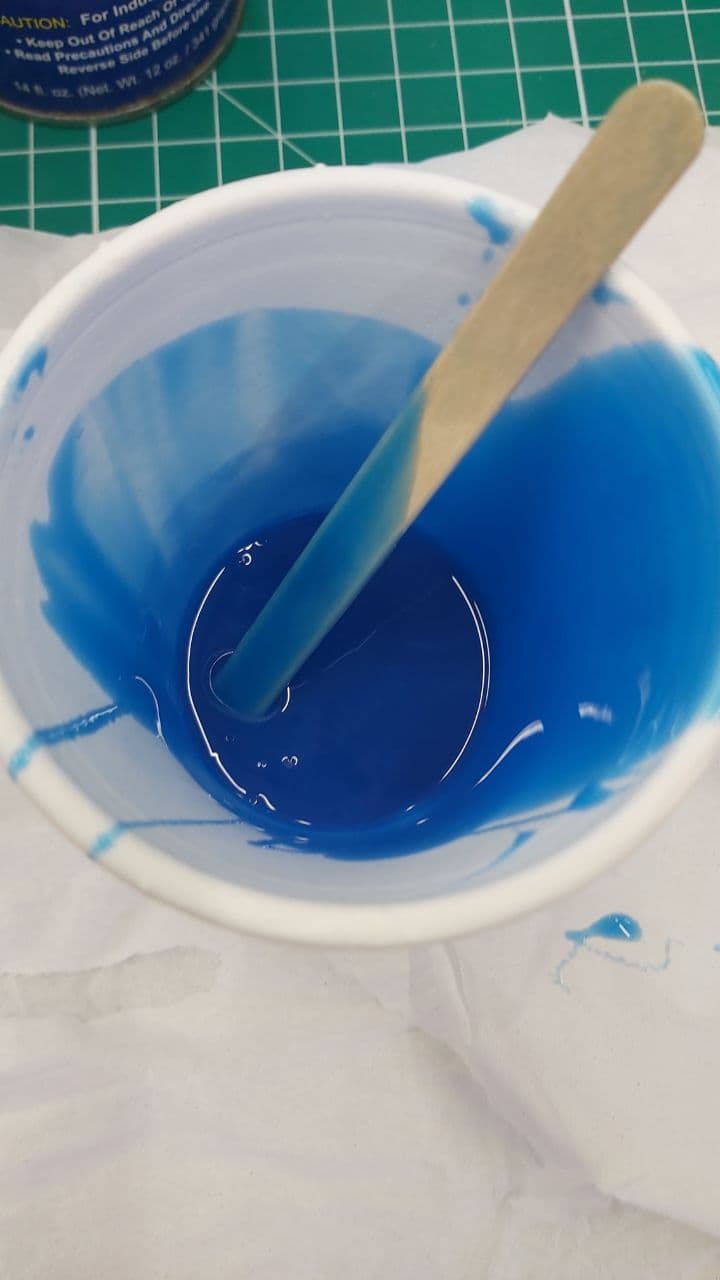
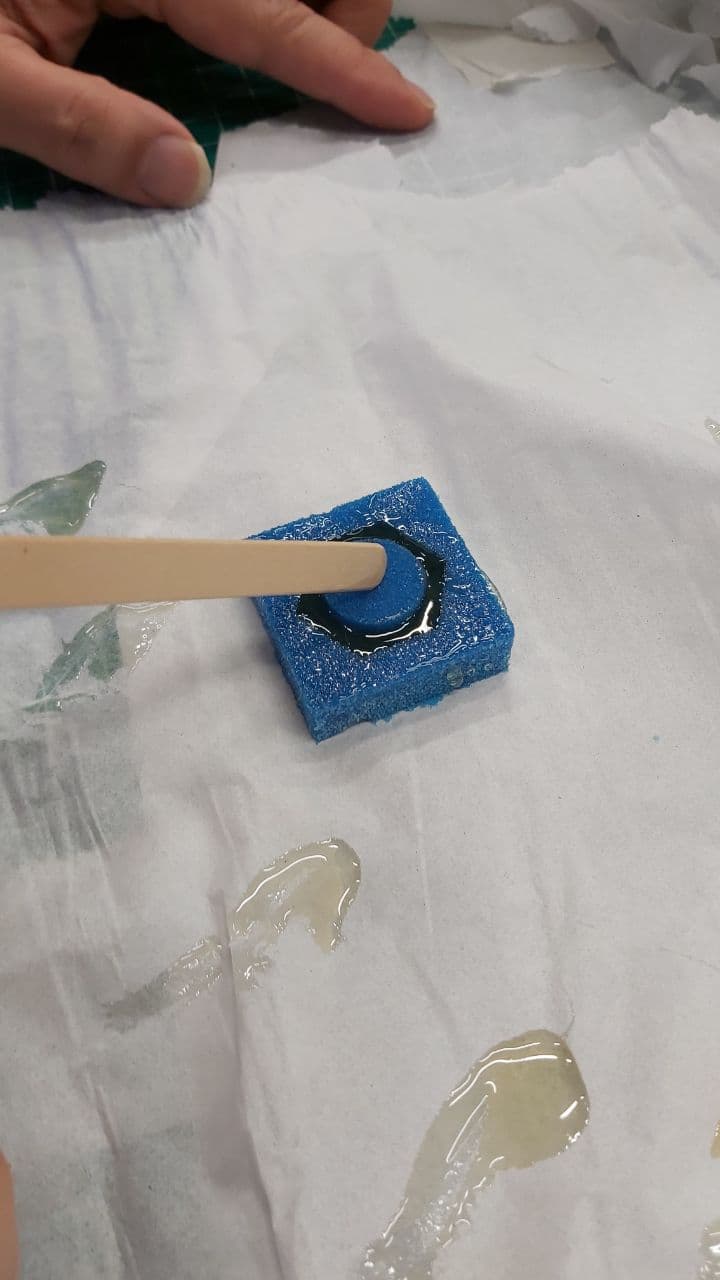
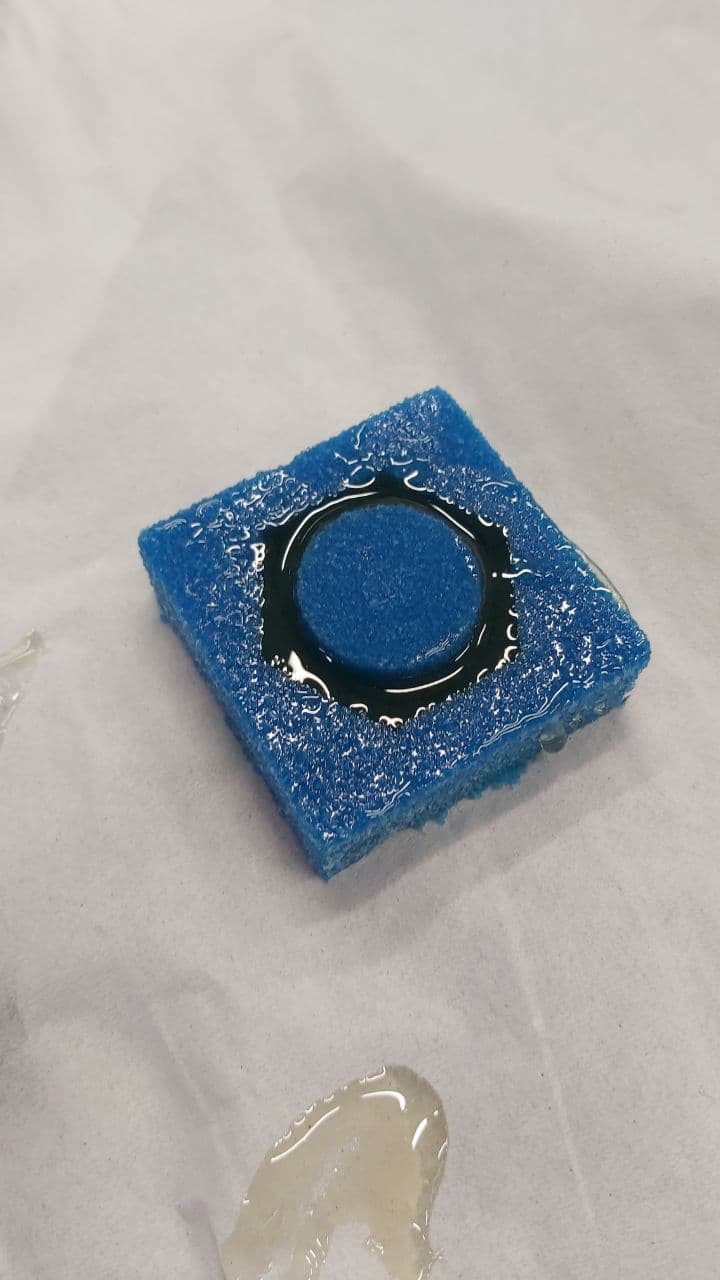
Mix it gently until the Dark blue colour of B and the White colour of A even out to roughly this.
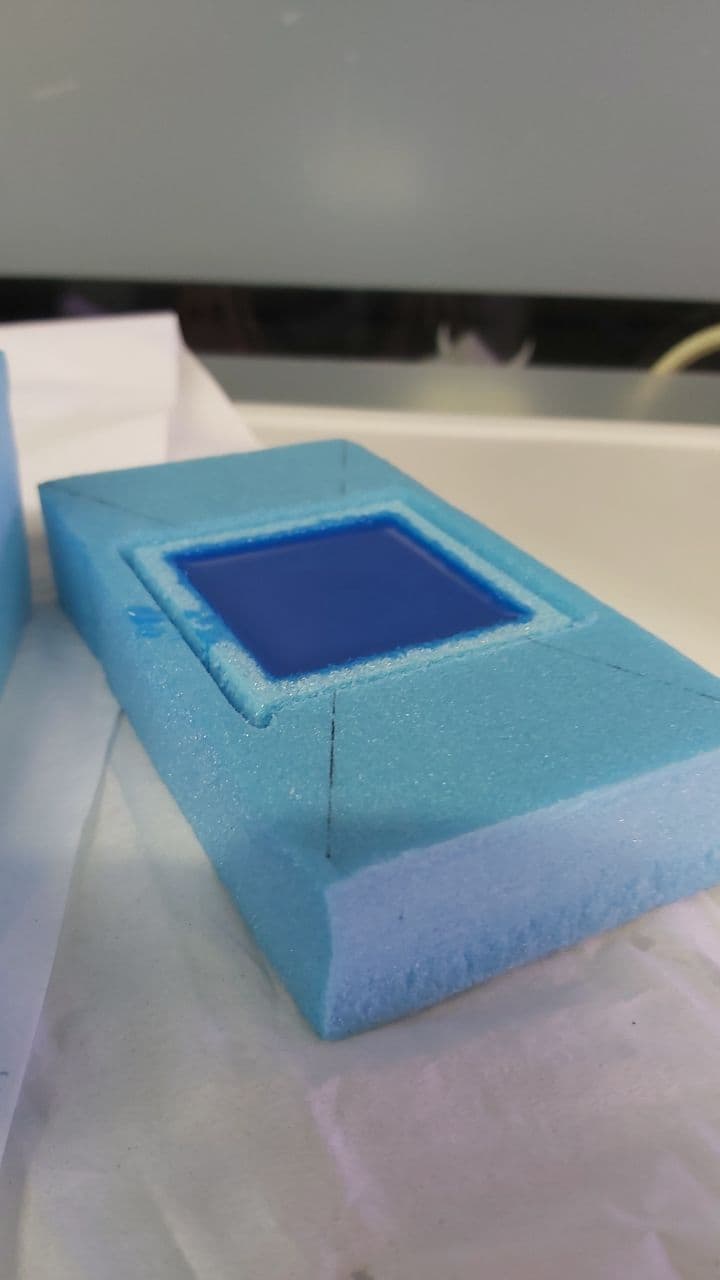
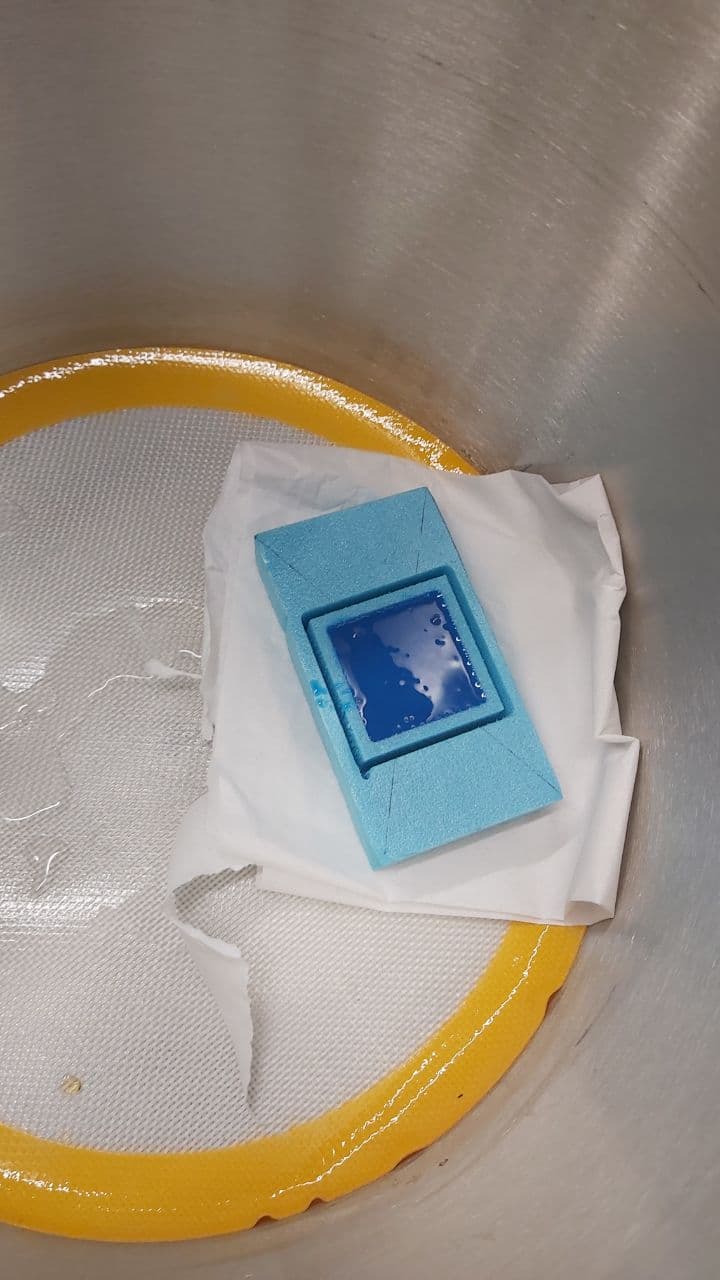
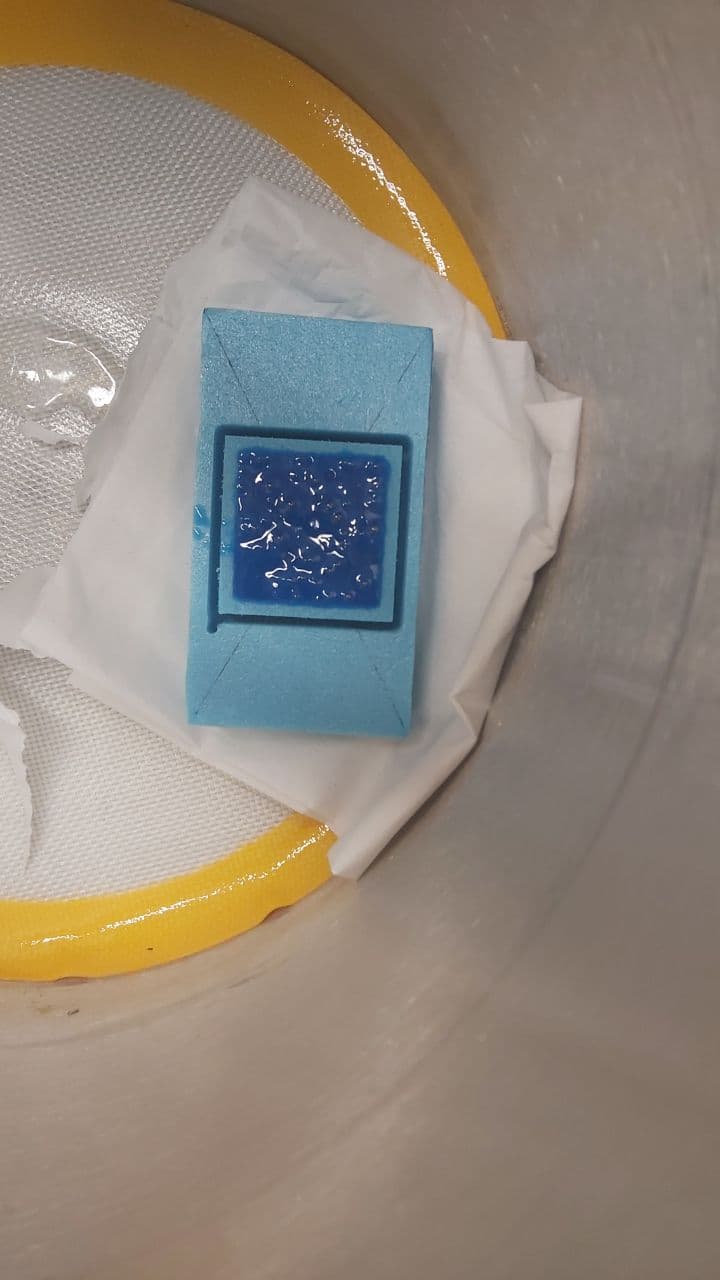
Next, pour the mixed compound into your Foam piece, start at a corner and just let it flow naturally until everything is sealed.
Now gently put it into a Vacuum chamber as seen here, on a piece of tissue paper to prevent it from boiling and spilling everywhere incase
the pressure suddenly rises.
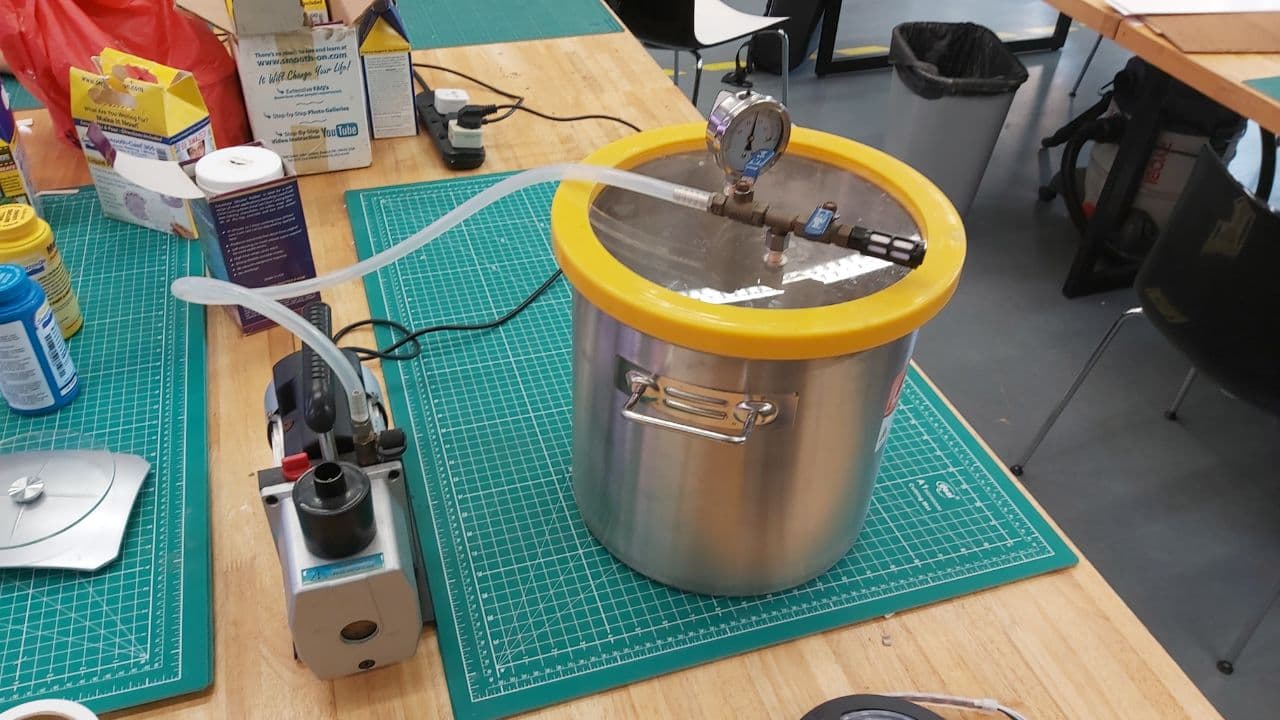
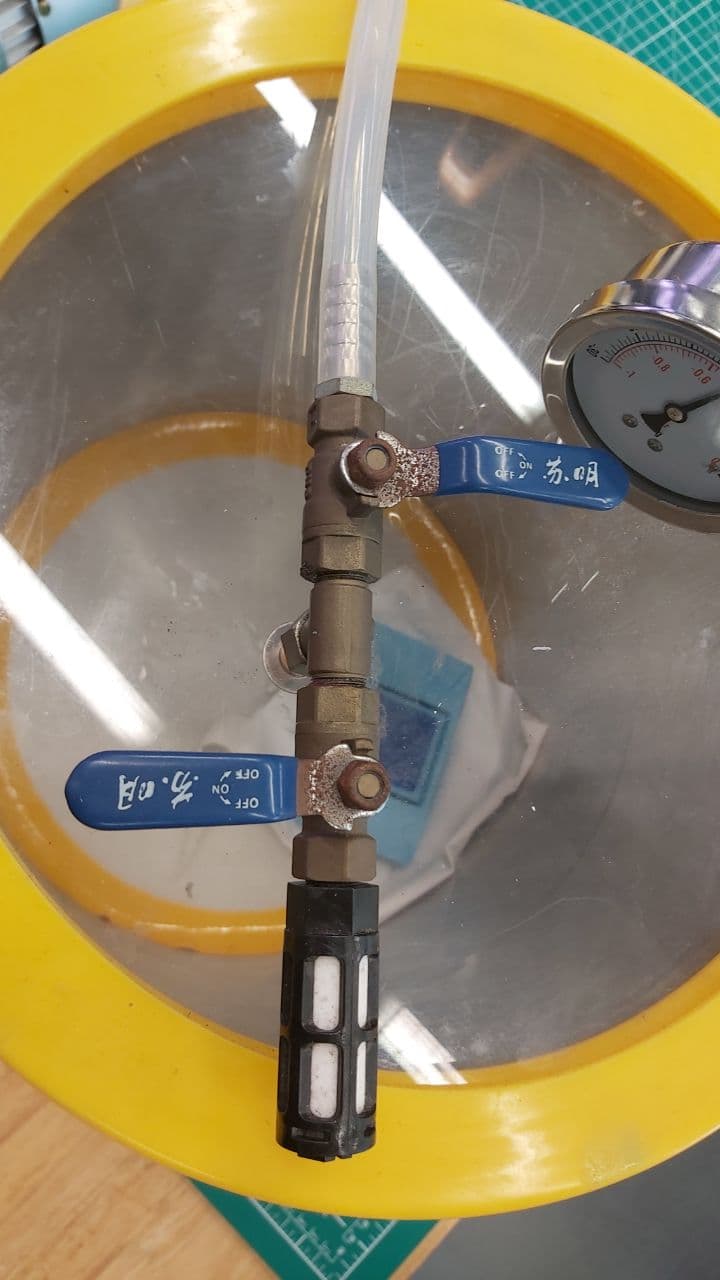
First thing, make sure this cork is removed,

Open the valve leading to the Vacuum pump, and close the valve leading to that black intake. Switch On the vacuum pump,
and leave it until the pressure goes to about that halfway mark.
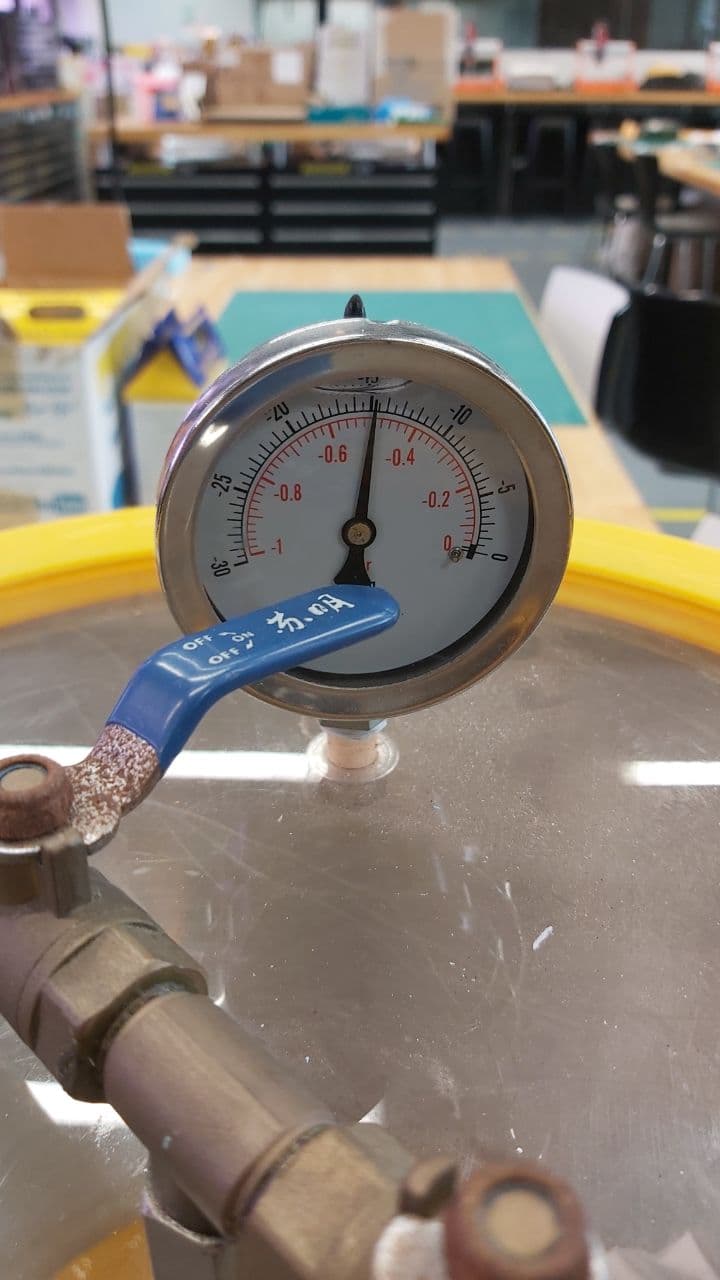
And then, close off both valves to hold the pressure there.
You'll notice that your mould starts bubbling slightly, which means the vacuum pump is working and is removing any
air trapped under the surface.
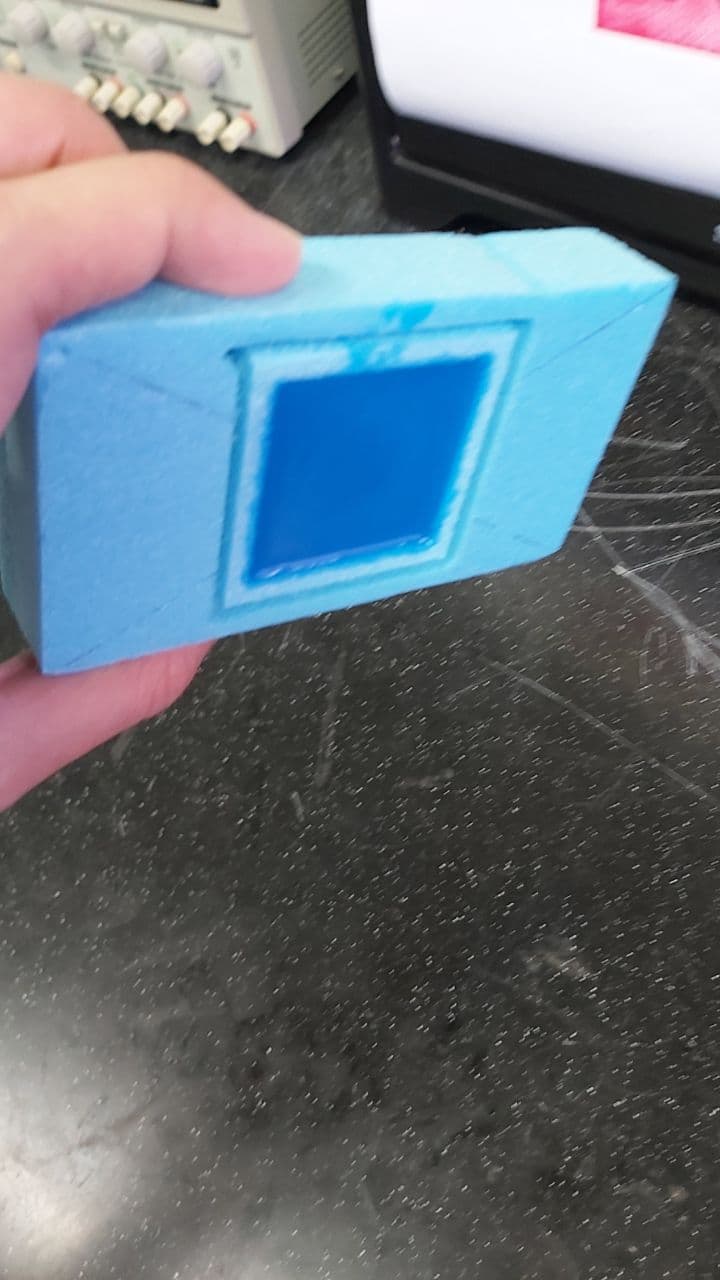
After that, put it somewhere flat and level, and then it is just a matter of leaving it to cure for about 6 hours, as stated on the box.
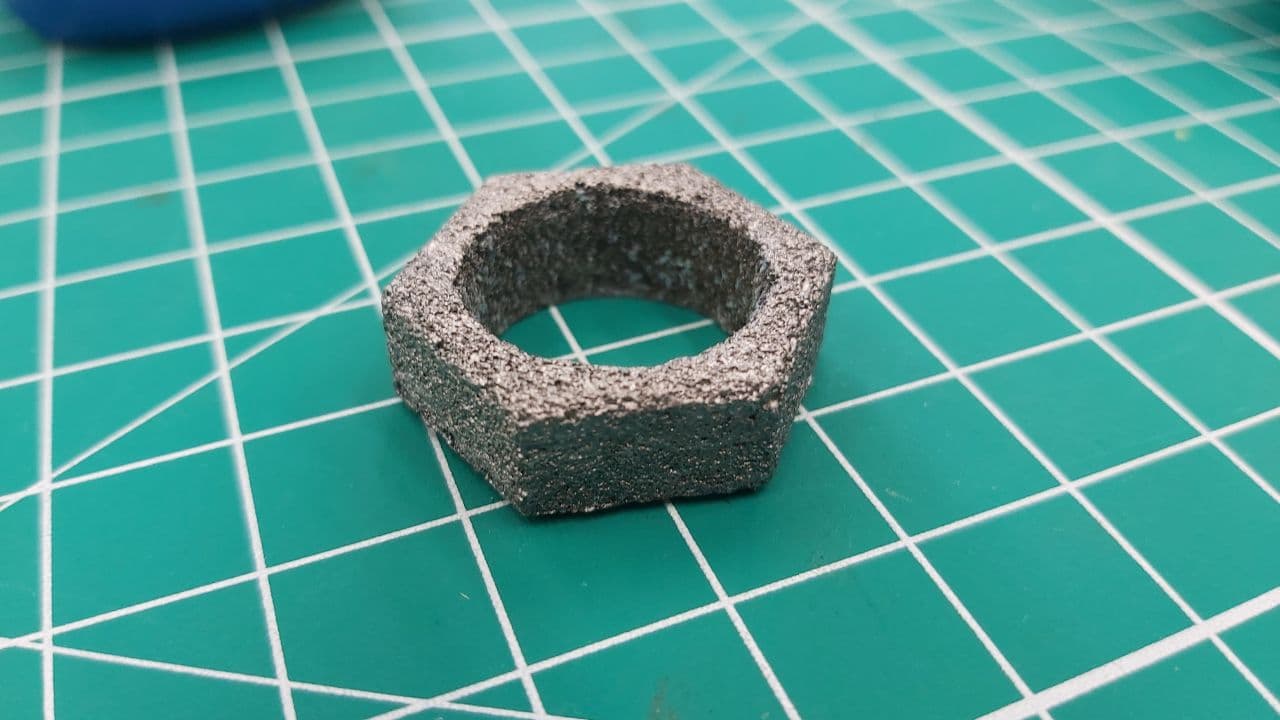
A few days later the mould is hard and dry, easy way to test:
Now is just a matter of breaking the foam apart, there are no steps to this other than have a vacuum cleaner ready.
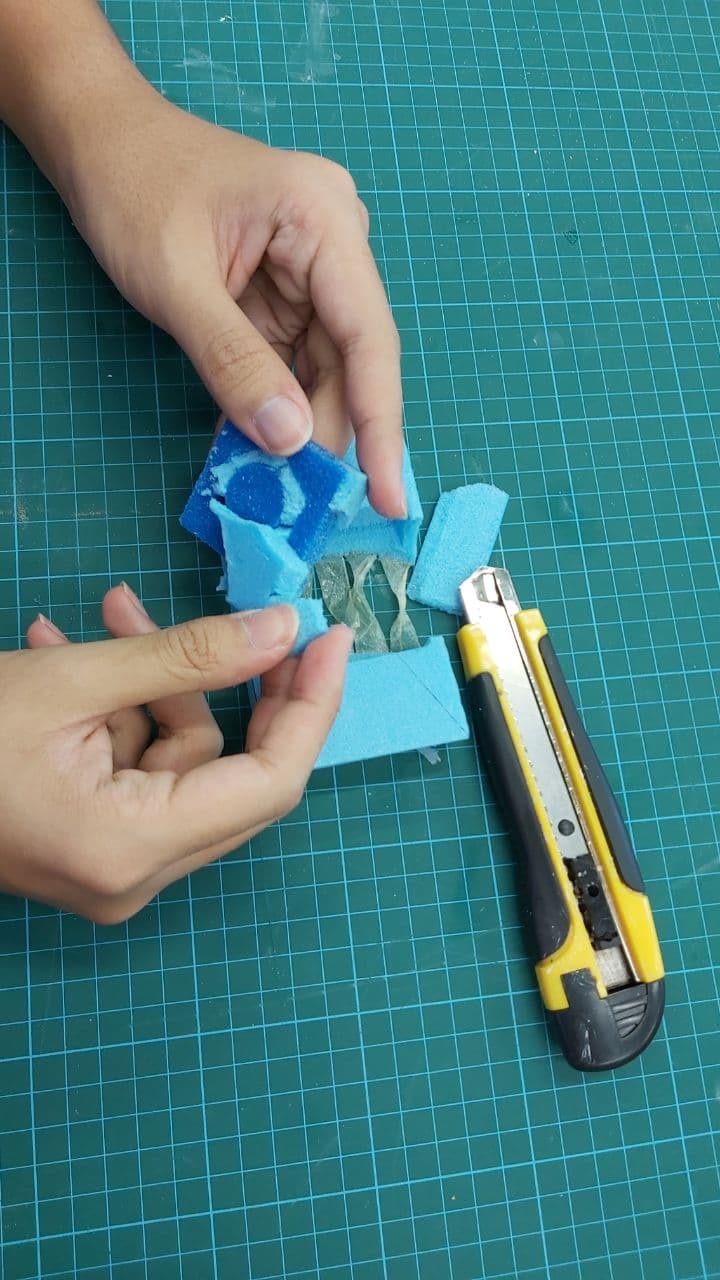
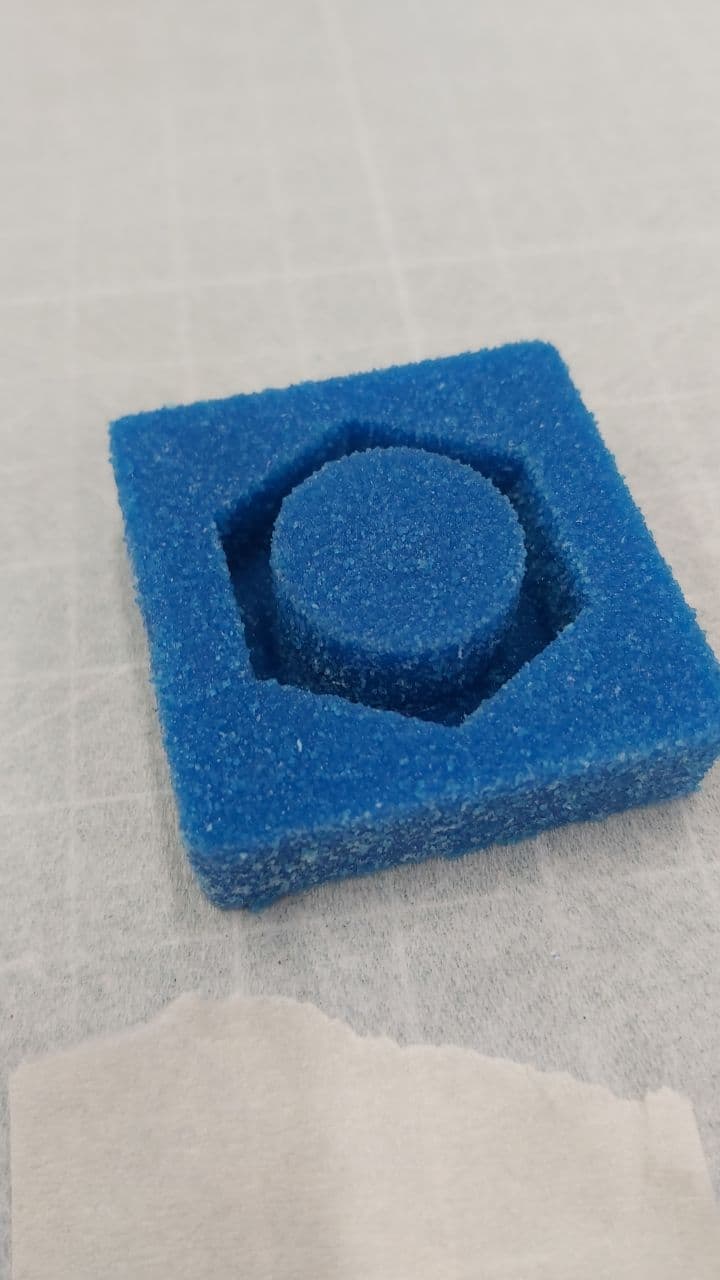
And now we have our silicone mould. It still has a decent amount of dust from the foam, so I cleaned it up with a brush.
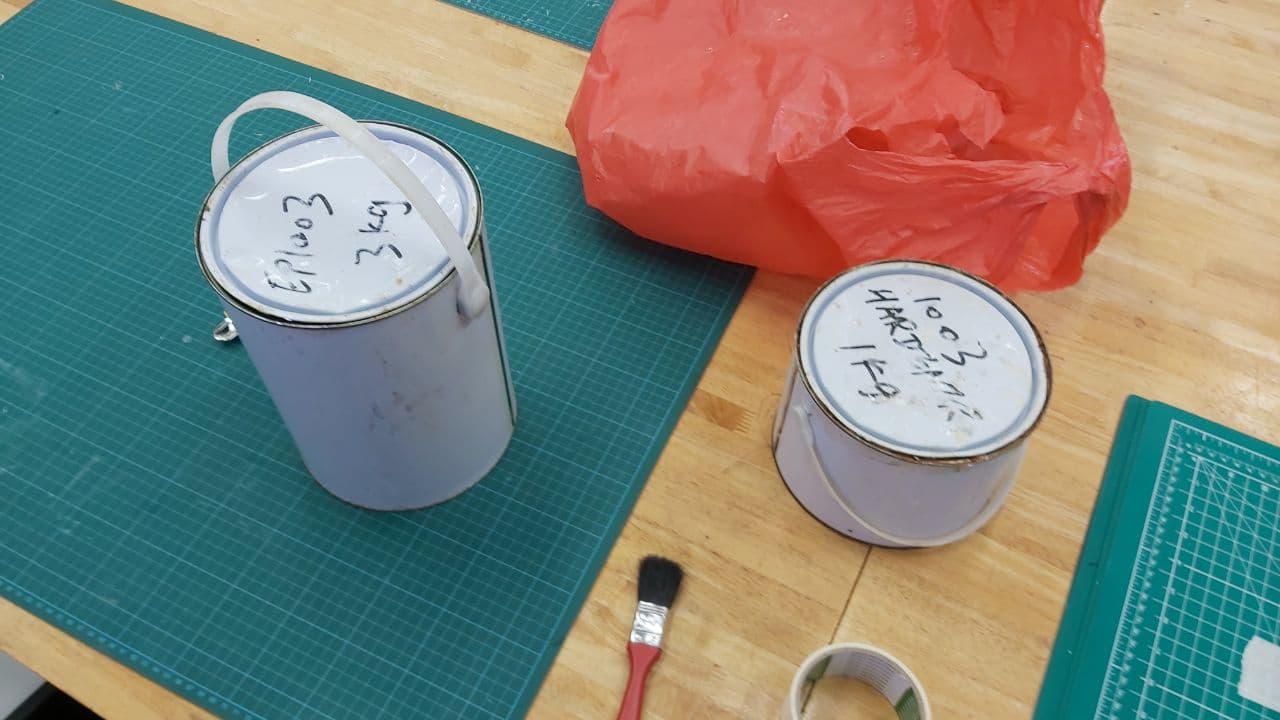
I ended up using this generic resin-hardener set, with not much documentation on it other than a 15 minute potlife.
The big one on the left is the resin, while the one on the right is the hardener. General mixing ratio of the resin
to the hardener is 3 to 1. I poured and mixed it in a foam cup, with a bit left over.
Next I started up the vacuum chamber like earlier, and placed the resin mix in to de-gas.
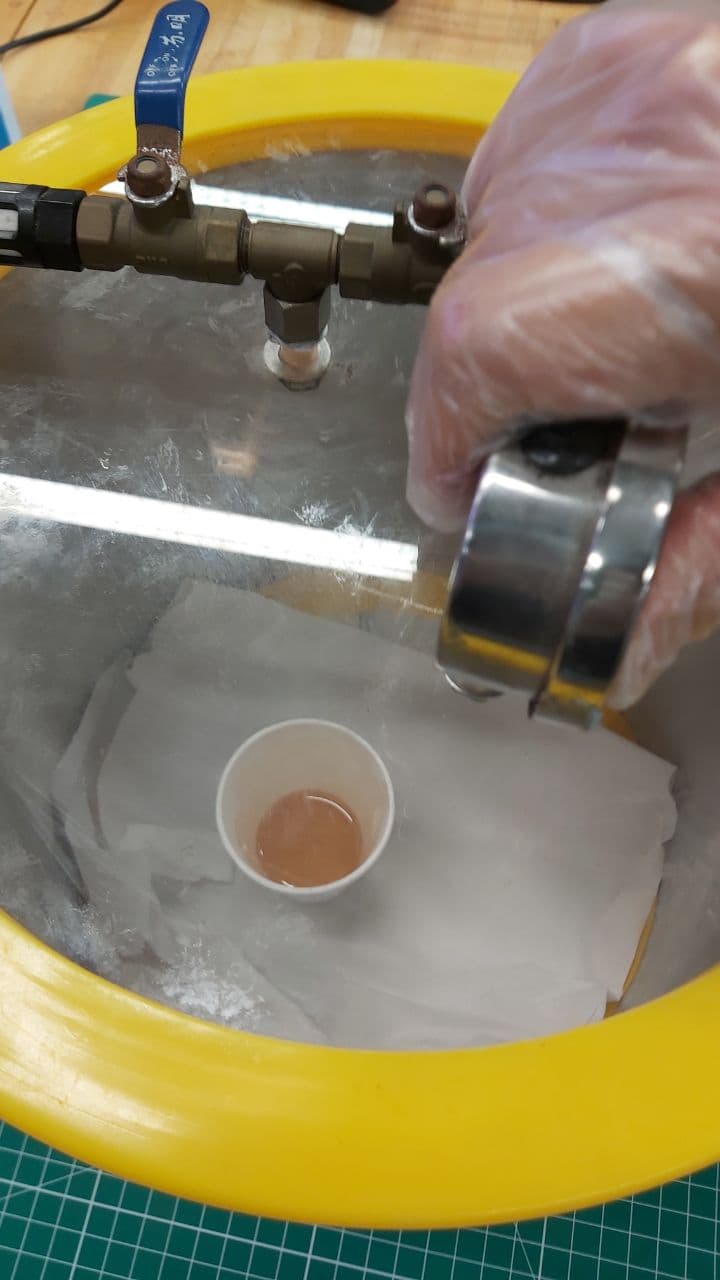
This time for some reason it vented a lot more gas, as seen here. These photos were taken about 2 minutes apart each.

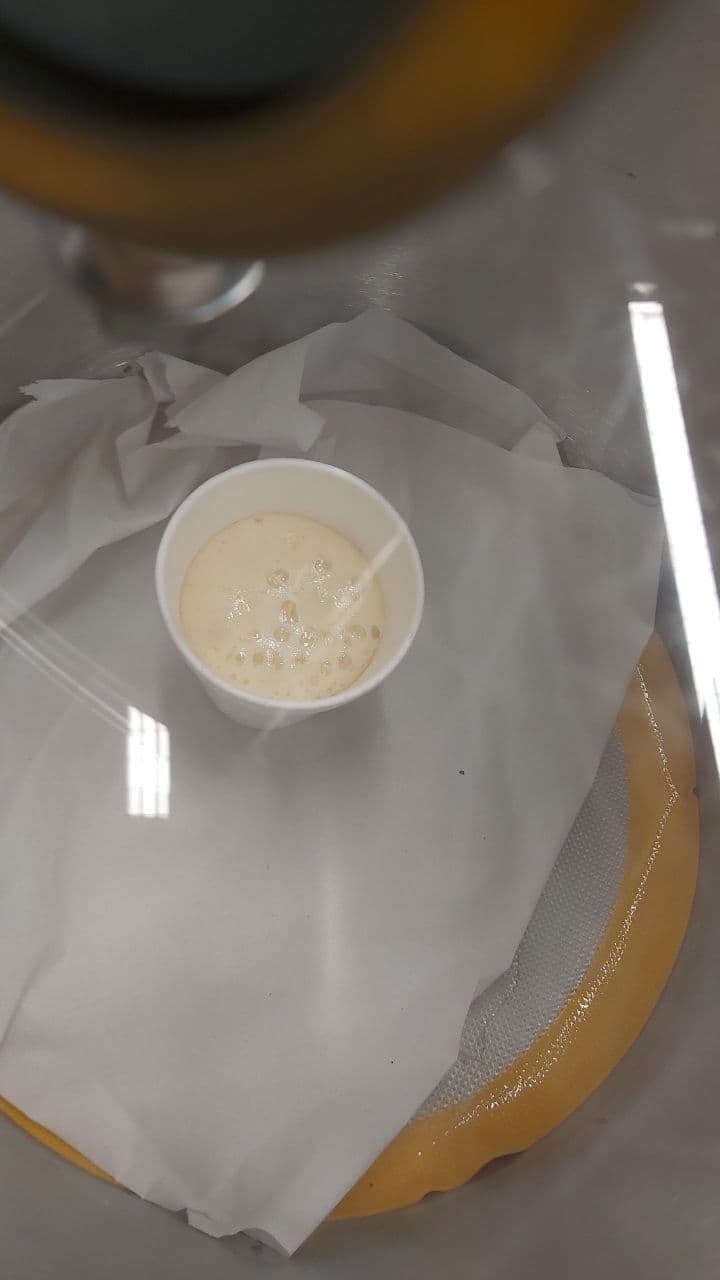
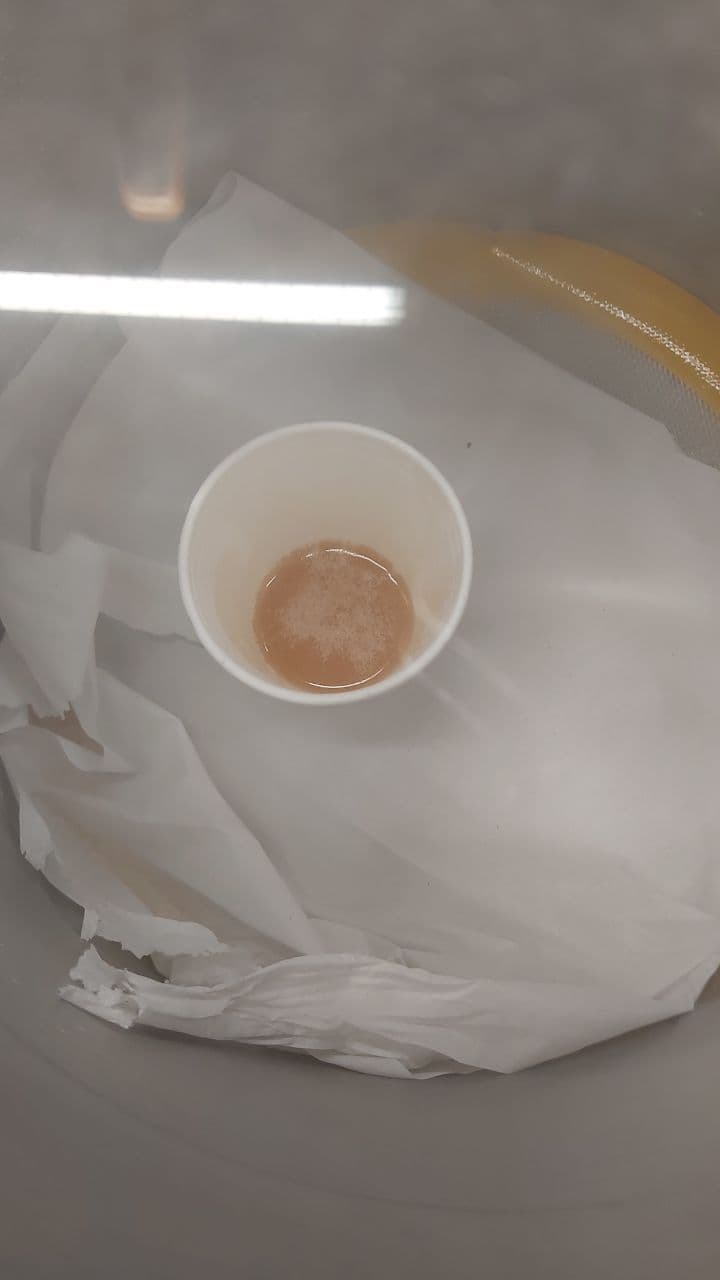
All that bubbling vanishes the moment the pressure equalises, so once the foaming settles down, very carefully open the
release valve and let the pressure back into the vacuum chamber.
And finally, pour the de-gassed mix into the silicone mould, gently setting it in with a scraper,
And leave that to cure for about 24 hours.
Its been a few days, and the finishing is abit rough, but this is perfect for what I intended to make, which when
painted over with a black base coat and drybrushed with silver, gives a decent cast-metal look.
Interfacing & Applications Programming