
Once again we will be using Fusion 360 to generate the Gcode, this time for the Stepcraft.
The same machine that made the PCBs earlier, can also be used to create foam Bucks for resin
casting. First we will need a model, this one is of a Nut, which I intend to use as a scroll knob
for the final project. The only thing to take note is that the Smallest gaps in the model, in this
case between the edge of the nut and the mould wall, that gap has to be Larger than the mill bit, which
in this case is a 3mm flat endmill bit.
The first step, much like in 2D CNC, is to create a set up and select your boxpoint. This time the boxpoint
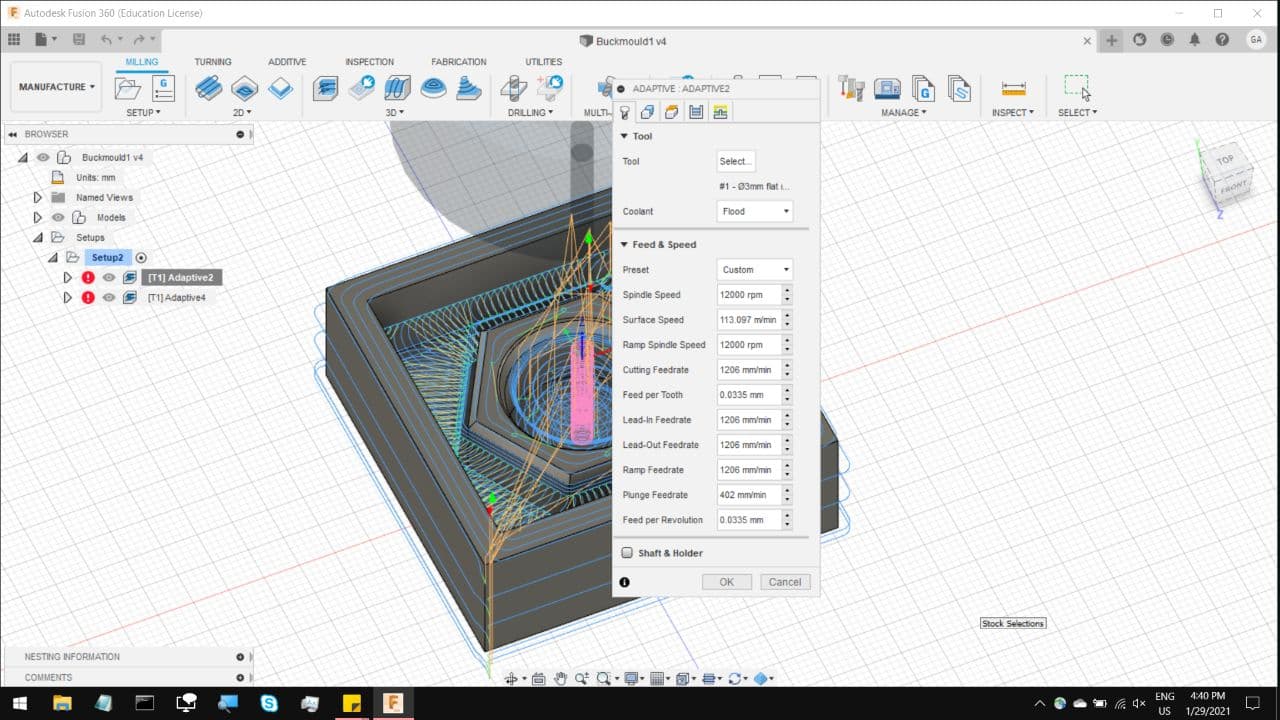
is in the center of the model. Once that is done, under 3D, select adaptive clearing, and select your Tool bit,
a 3mm flat endmill, and No coolant. The feed rate and the chipload in this case can be higher, as a large end mill
cutting Foam, is like a hot knife through butter. So you can stay around 1200mm/min.
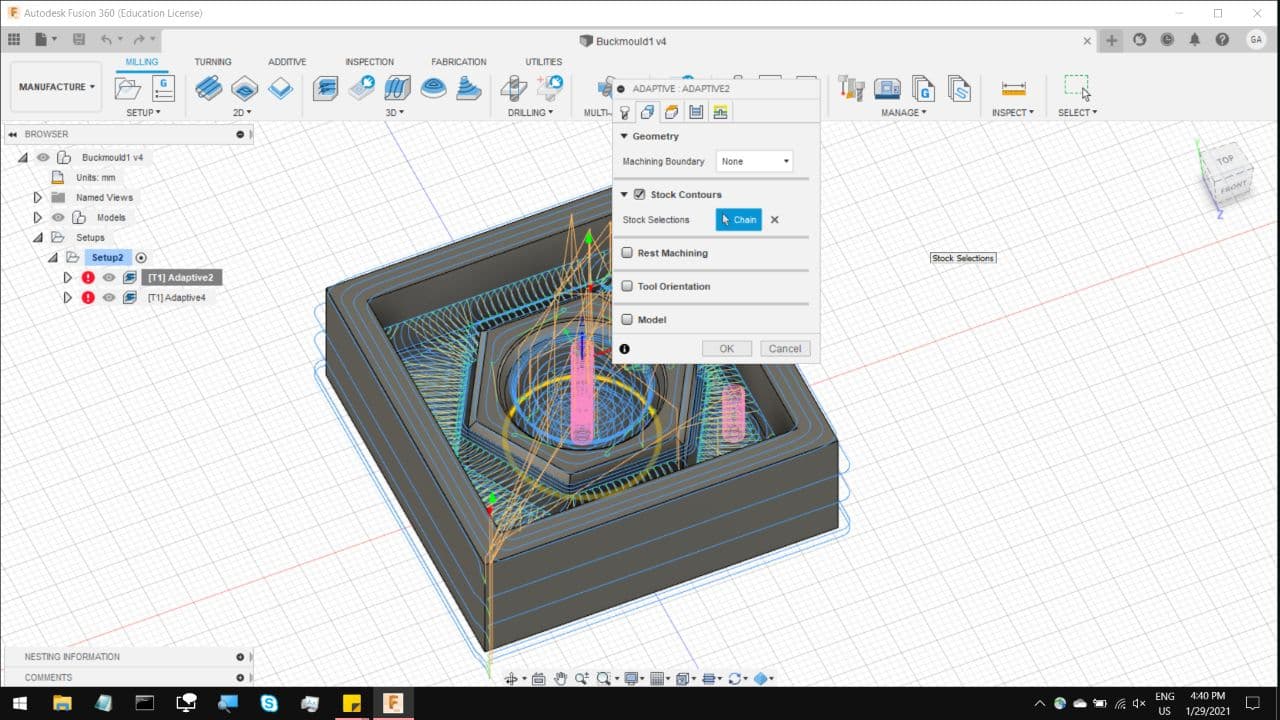
For the next section, all you have to do is select the contours to mill. In this case I split the toolpath to 2 sections.
the first is to bore out the hole in the middle, and the next would be to start milling the outer edges of the mould.
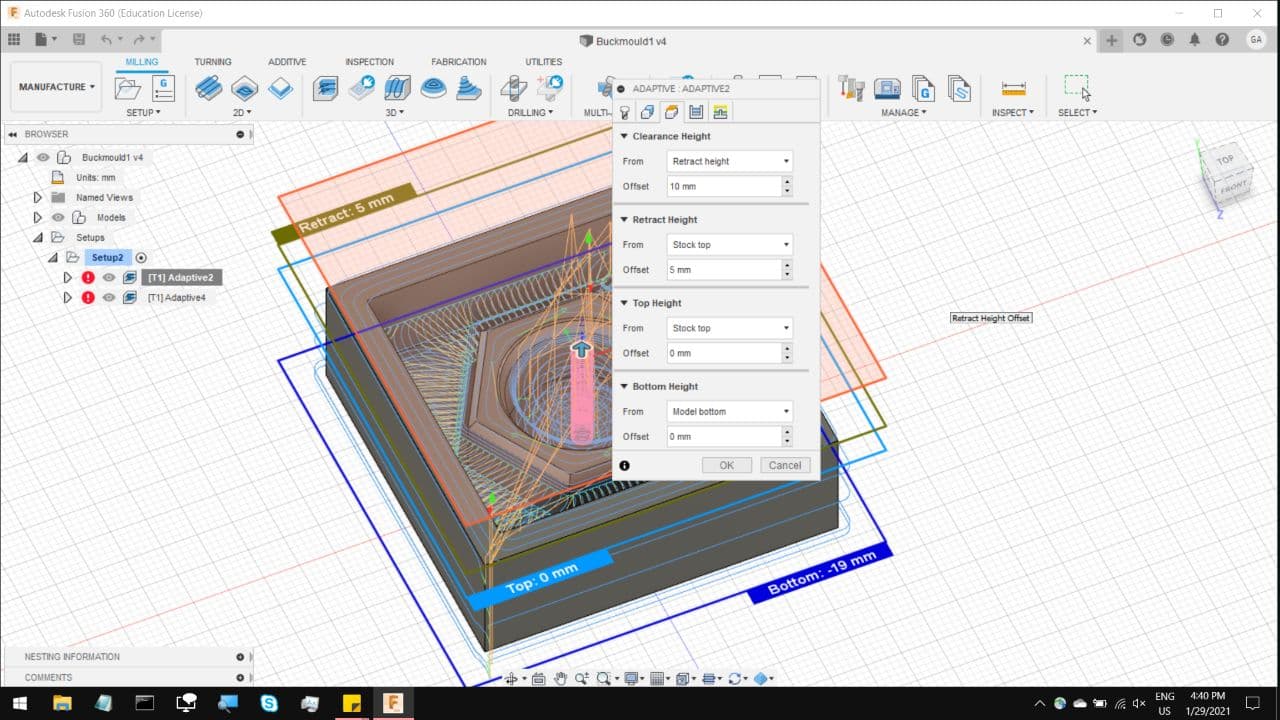
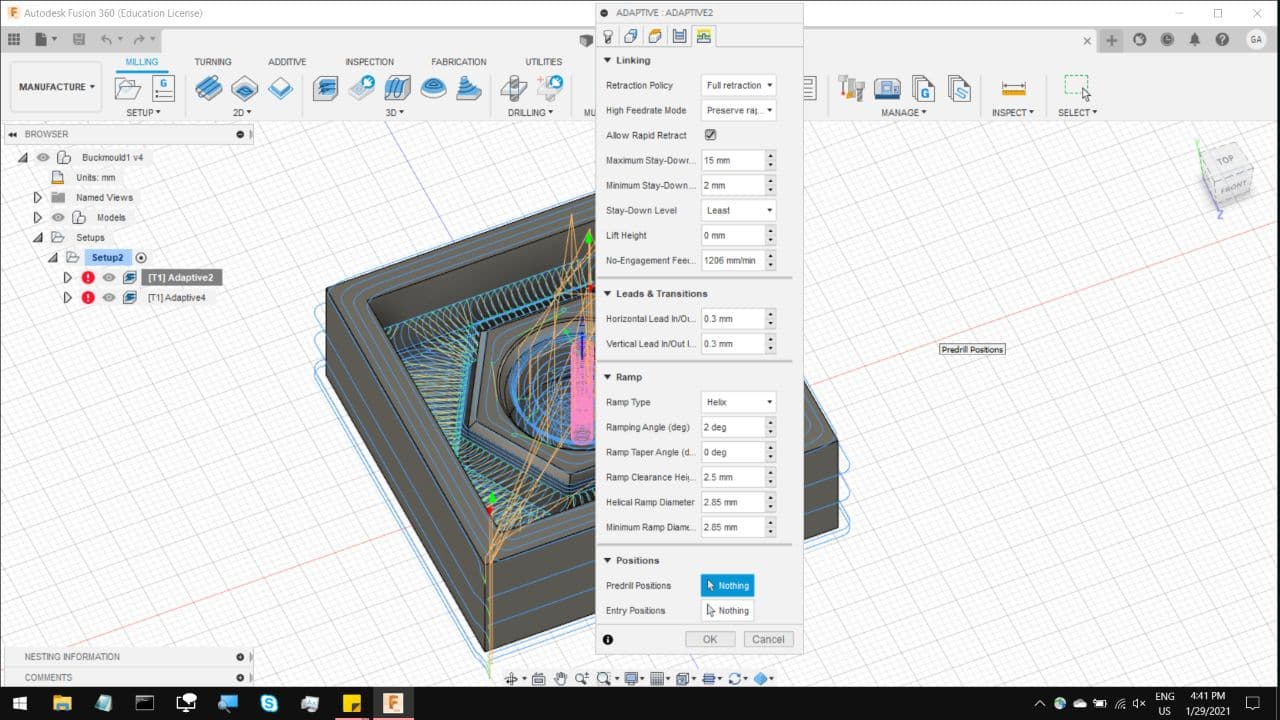
The third section, the default settings will work, just ensure that the Bottom height is set to 0. This will ensure that
the CNC does not cut clean Through the material, unlike in 2D CNC. The end result of this foam cut is to pour Silicone
moulding compound into it, so it has to be watertight at least.
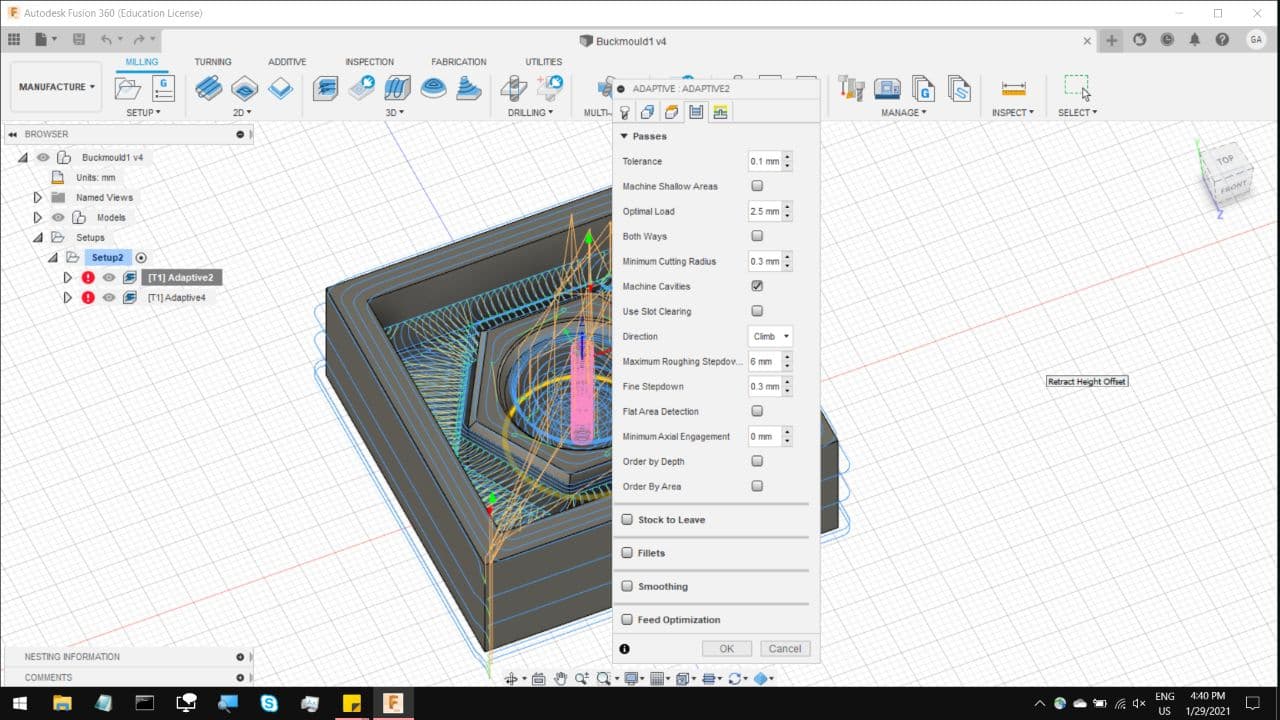
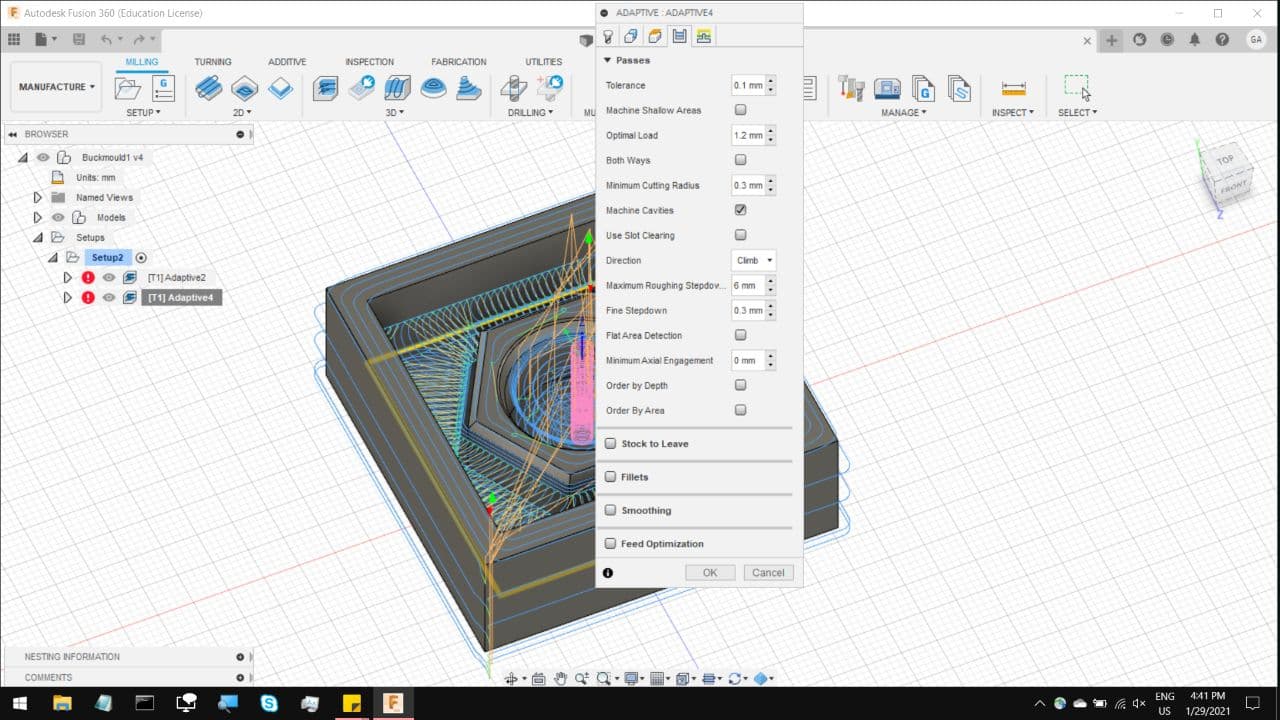
The fourth section, you can leave bring the Roughing stepdown much further as compared to the 2D CNC or PCBs, so in this case
it pushes the bit down by 6mm on each level, which allows it to cut through more material in less time. A general guide would
be to have the stepdown be the same as the tool diameter, 3mm, but because we are cutting foam, we can be abit more aggresive.
As for the Fine stepdown, that is the finishing cut, so have it to 1/10th of the tool diameter, in this case its 0.3mm
On the last section, you can leave most of it to the default settings, and hit OK, and wait for abit while it processes.
Once that is done, repeat the same process for Another adaptive clearing, in this case its for the outer sections of the nut,
as seen here.
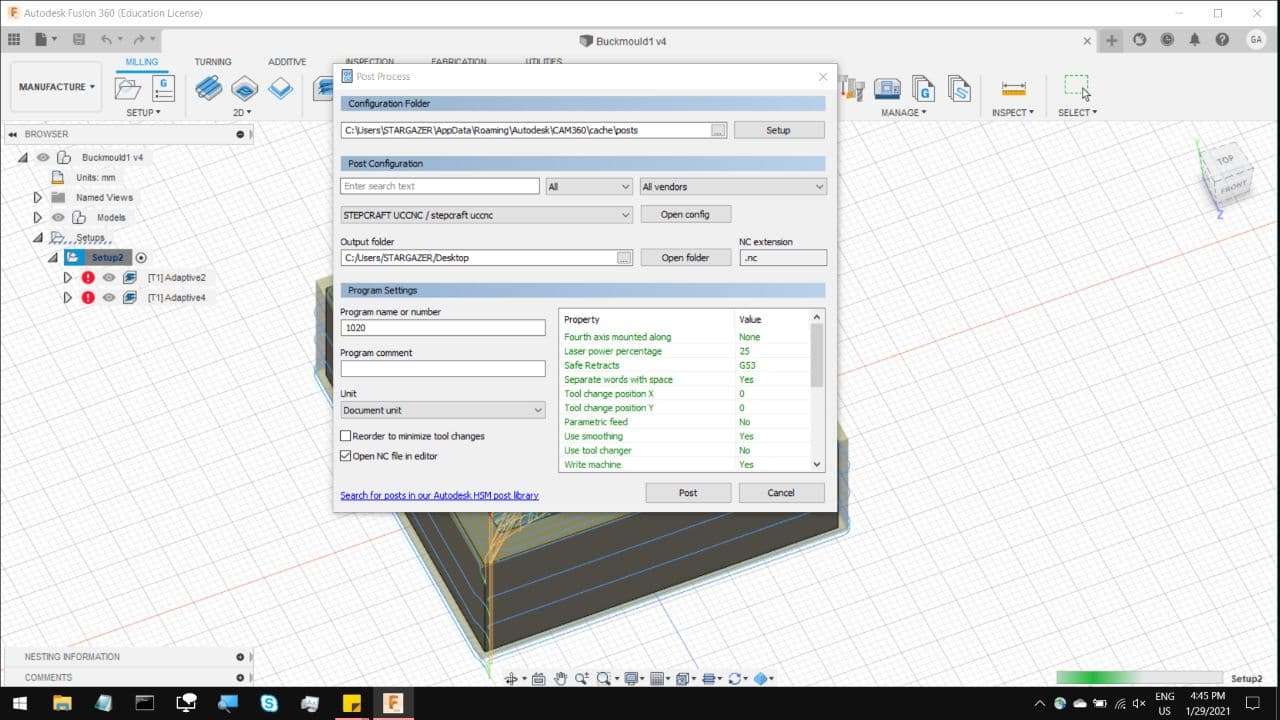
And finally, select your post processing from the top of the workflow. Use STEPCRAFT UCCNC/stepcraft uccnc as your post processor.
And select the output folder to be somewhere you can find, like your desktop. And now we can move on to the Actual foam cutting.
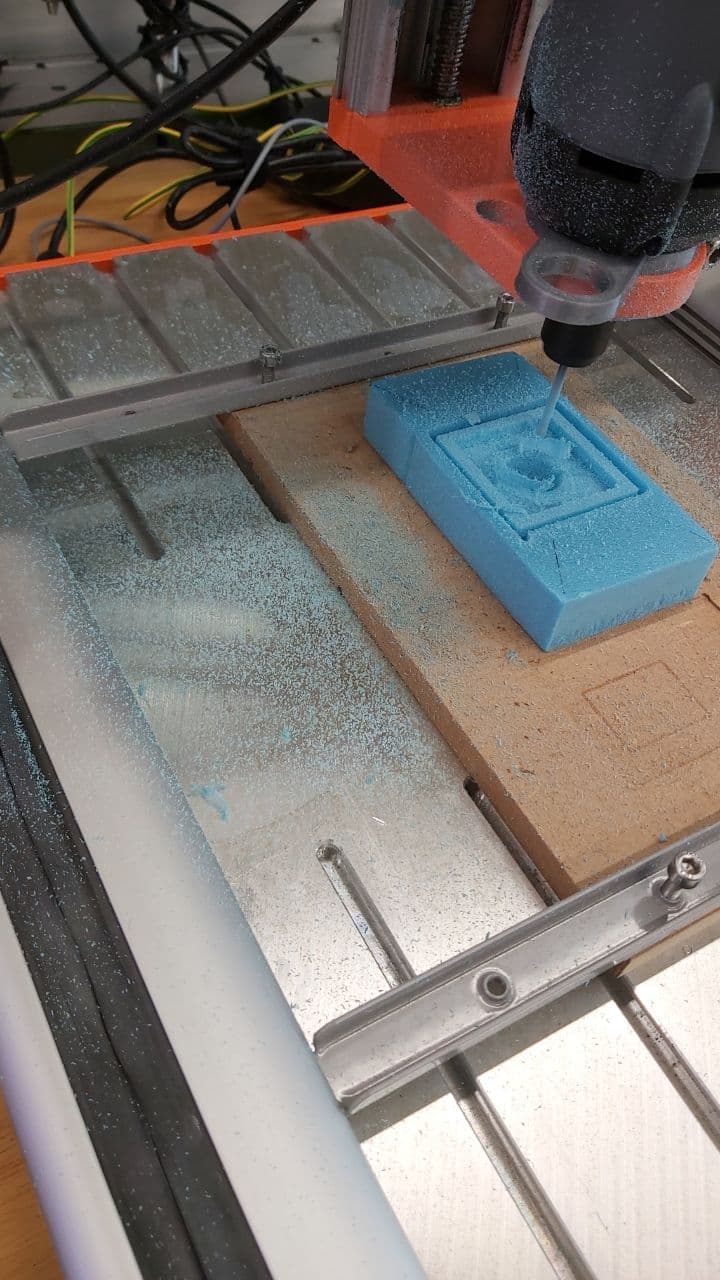
The general set up process is the same as on PCB production, the only difference is that you can be a little less precise in your
calibration. I did not even bother using the Calibrating cylinder in the back, I just brought the 3mm mill bit to what I estimated
to be the center of the foam piece, marked it with a sharpie and zeroed the x,y,z values.
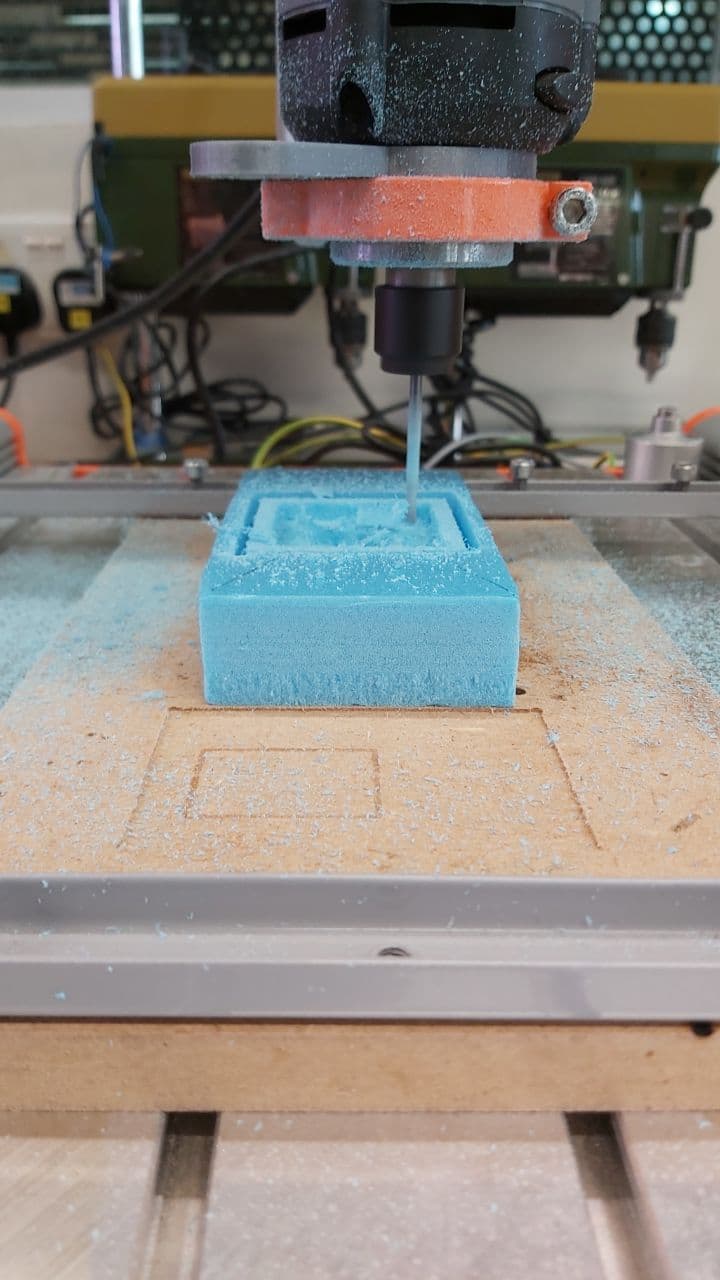
And almost immediately you notice 2 things. 1, The finishing on foam is not nearly as neat, which means the finishing on the Resin mould
will have that same texture, but that actually helps me. I was going for that look of messy Cast Iron for the nut. 2, the dust that the
kicks up is truly something to behold. So be sure to wear a mask to not inhale any of the dust, and to have a vacuum cleaner on standby.
Interfacing & Applications Programming